18
Let there be light
Humans have always wanted light at home, from thousands of years of fire based light through to 18th century gas lighting, through to the early 19th century and 20th century with electric lighting.
In the 21st century, lighting is something we’ve taken for granted.
You come into a room, flick a switch, and you have light.
While the technologies have changed over the years with incandescents and neon through to modern LED based lighting, the user interface has remained the same.
There have been remarkably few changes over the years to the user interface – press a switch, and let there be light.
While there have been a few specific use case divergences – i.e. motion based or sound based activation (eg for security lighting, or public lighting in buildings), or marginal modifications to output (eg dimmers), those haven’t really changed the way we work, as the original interface is just so simple and succinct .
It has been something we’ve taken for granted, but what if you want more?
Timbuk3 claimed that the future is always brighter, so where are our sophisticated lighting solutions?
The answer is Smart Lighting.
The smart lighting space has been an interesting one to look at.
In some ways, its a solution looking for a problem – its cool, but its not something that most people really need. Currently the market appears to consist of sophisticated consumers – eg ones looking for automated solutions for their upmarket cinema / projector rooms or similar, through to geeks that want to play with fun new tech.
Your average home user isn’t likely to want to try it, as its still nowhere near as easy as the incumbent solution.
That said, its getting to the point where its worth taking a look at so one can tip toes in so to speak.
Currently there are 2 mass market implementations that are out there that provide additional smart features over and above the typical light on / light off provided by a switch.
Both systems do pretty much the same thing – they provide features over and above the normal set of functionality.
First the downside – they’re parasites. In order to be controllable remotely, they need to be permanently drawing power. Its minimal, but its still a current draw – green, these are not.
They also complicate lighting slightly – If you’re used to turning the lights off and on via a switch, you still can, but you’ll need to flick the switch off/on again to turn them on if they’re currently set to off via the app.
To sum up – you can still turn the lights on or off via the wall switch, but if you leave the switch on, then you can also control the lights via your computer or smartphone.
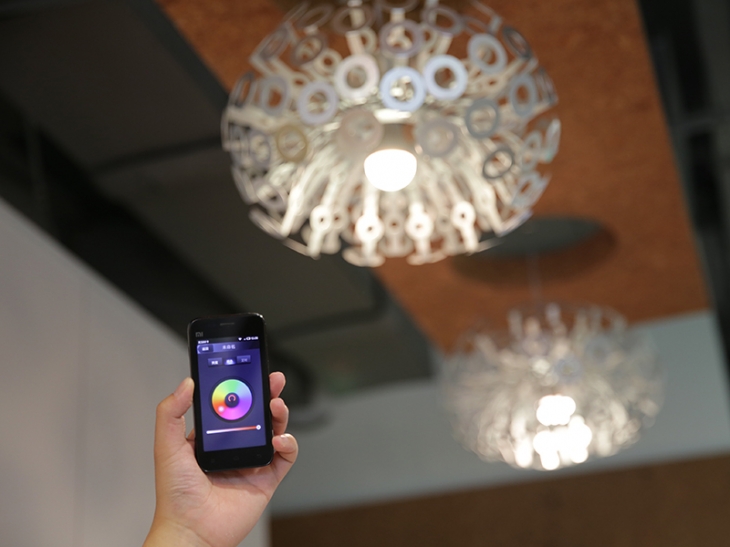
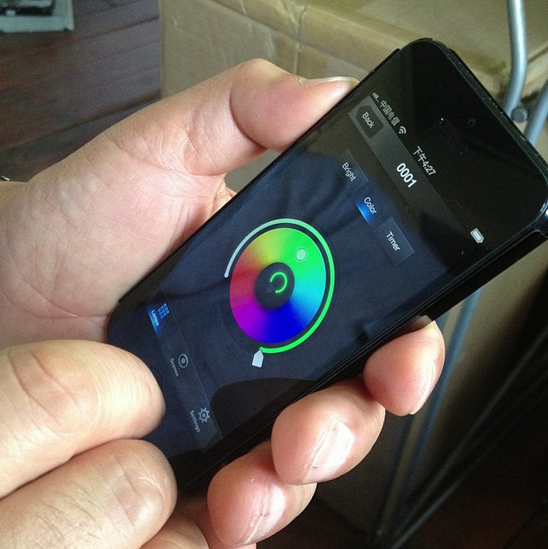
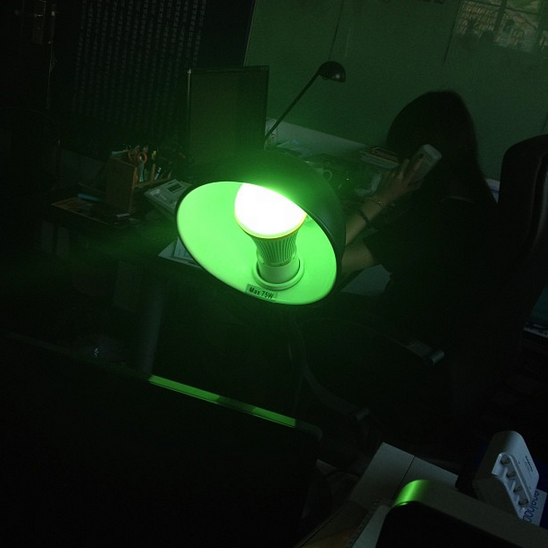
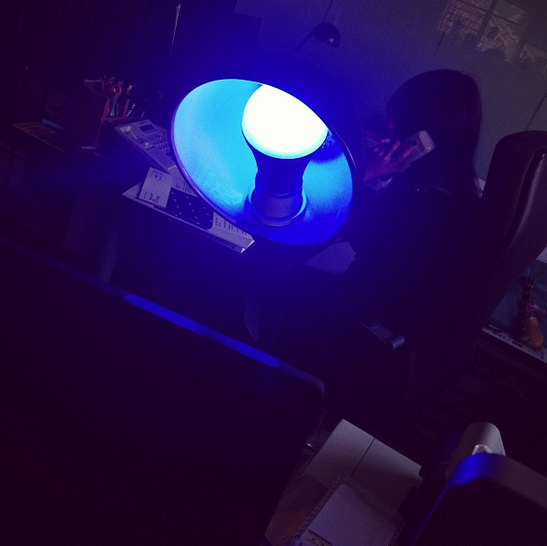
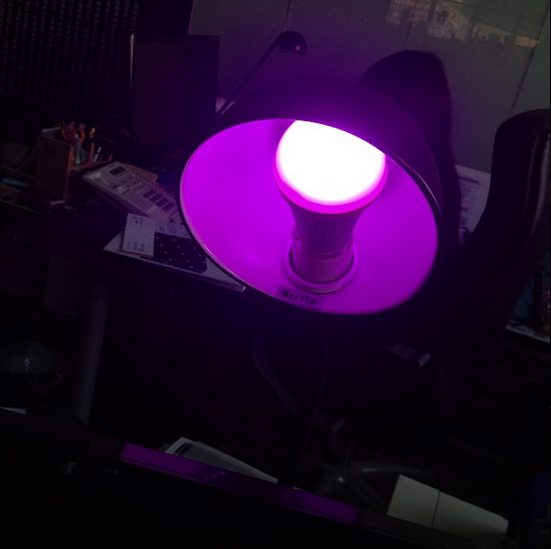
The app for both solutions has fairly similar functionality. You can change the color of the light output, from white light, through to yellow, red, and blue lighting. You can also dim the lighting.
Both of these solutions are similar –
Philips Hue, and YeeLink.
Philips has been attempting to sell their smart lighting system for a few years now – it hasn’t really set the world on fire, but it has been a slow if unsteady seller.
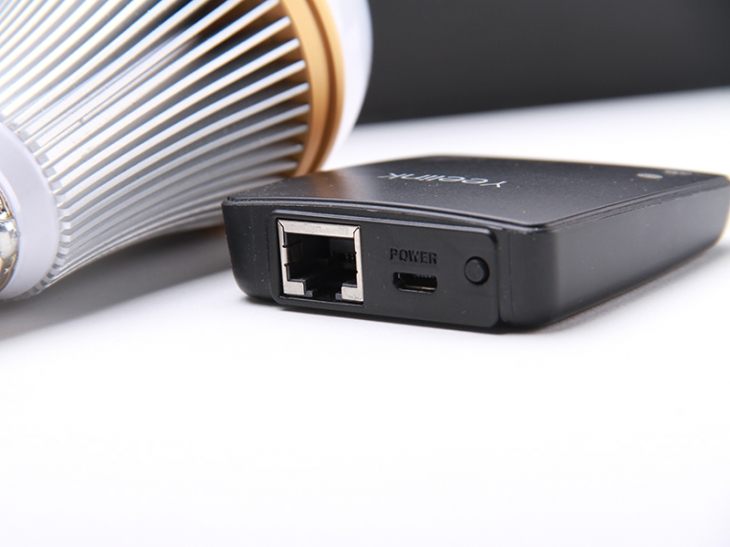
The Philips solution is based on a small ST Micro 32 bit processor running the base station, listening over ethernet, which then communicates to the bulbs, via Zigbee wireless (Ti2530 chipset).
Bulb plus base station looks like this:
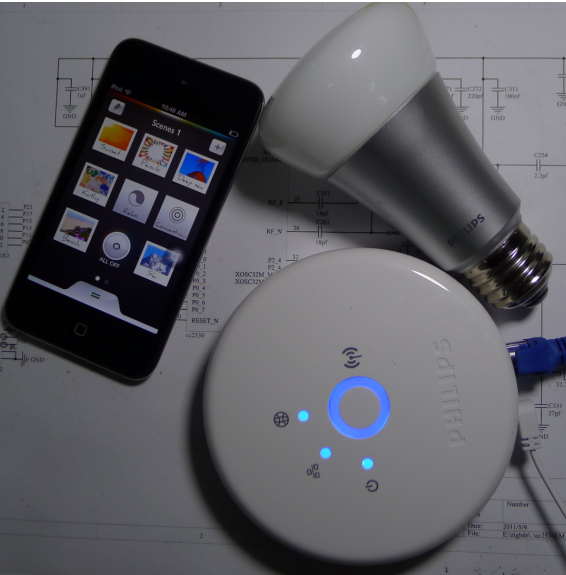
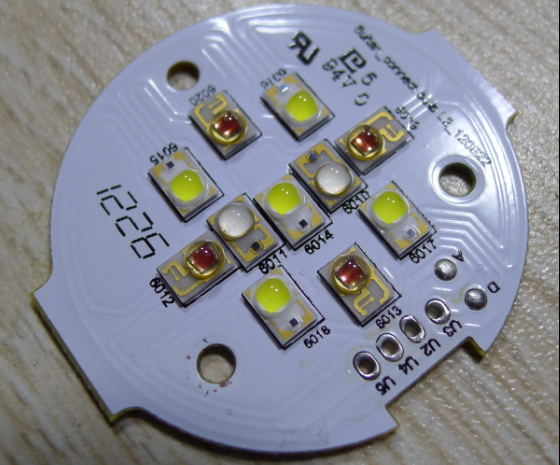
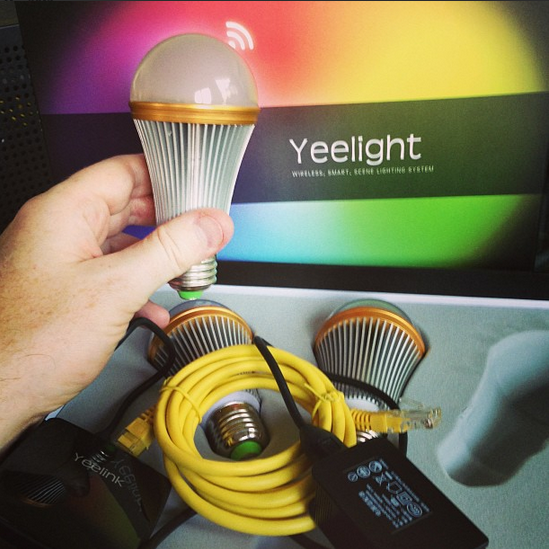
Inside, the bulb has a number of LED’s that control the light output, and light colouring.
The Philips solution is ok, but its not as open as it could be. They do have apps with functionality, but the main complaint is that features haven’t been added, and they’re buggy.
Their solution is here –
http://www.meethue.com/en-US
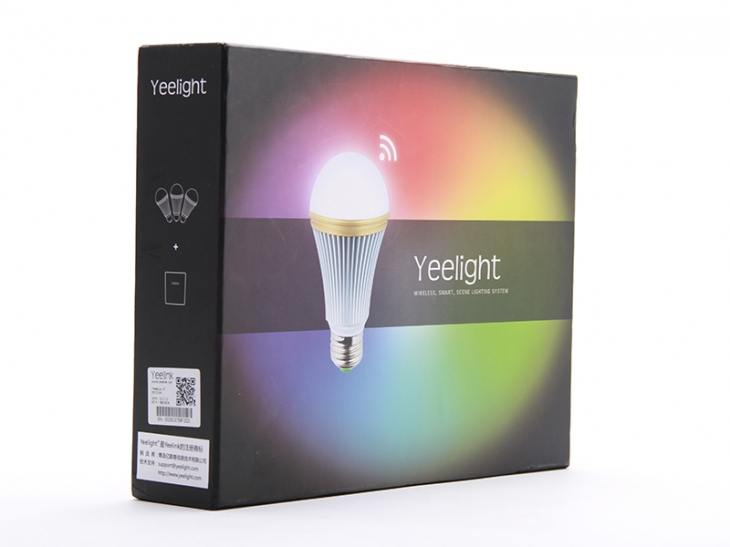
Onto the Chinese solution!
Yeelink has a fairly similar product that came out around the same time as the Philips one.
Theirs is Arduino based, and a lot more open.
They have a github site with code for the basestation (arduino based), which communicates over Zigbee (noticing a trend here!).
Take a look below at a demo of functionality
What makes the Yeelink different is that they have a better UI and a better API.
They’re also not just staying with lighting. They’re adding temperature sensors and other sensors that will be tied to the base station for future upgrades.
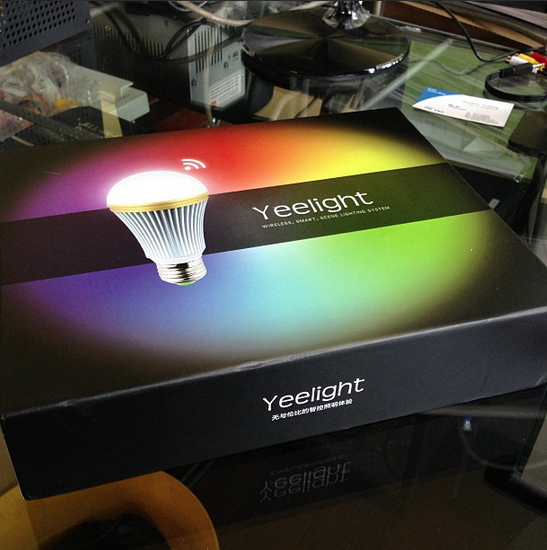
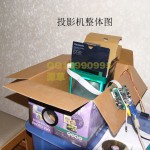
Future is future, and now is now. Lets take a look at what comes in the box – firstly, its impressive packaging for a Chinese company – it looks good, and is well packaged. Kudos for good design.
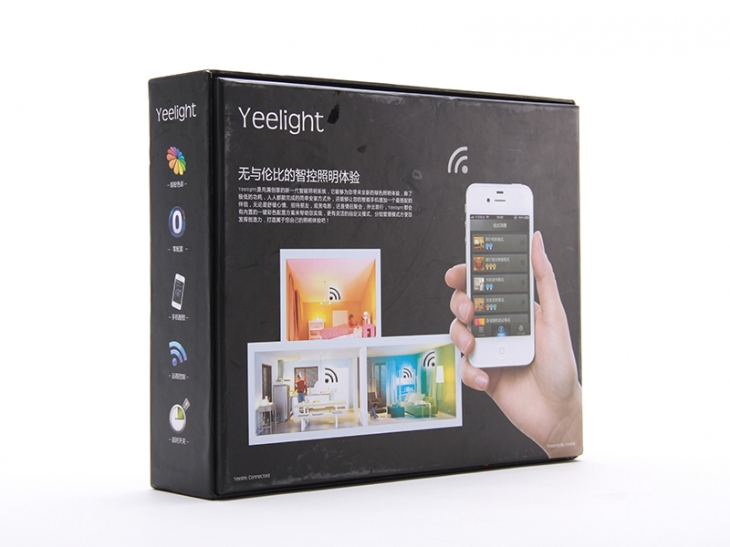
Box packaging –
Base system with 3 bulbs. This retails at 600RMB/ $99
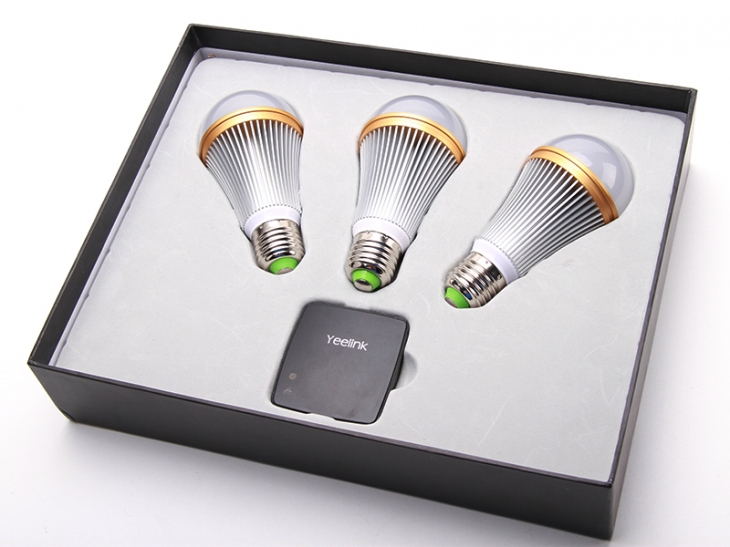
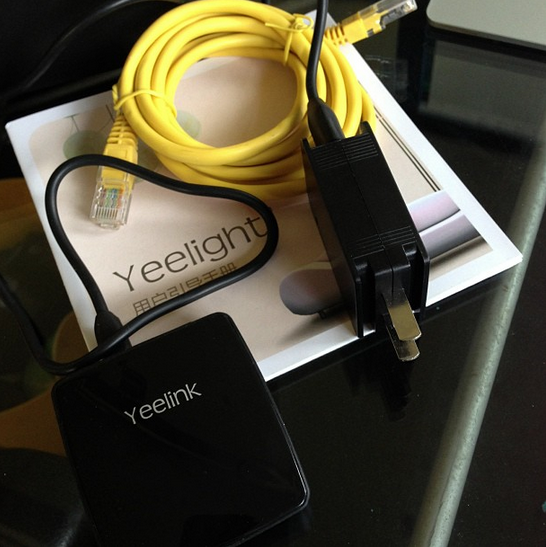
Base station
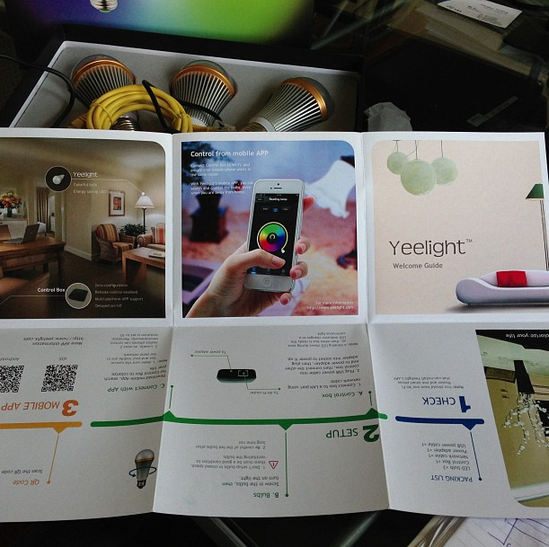
iPhone app (comes in English and Chinese)
All in all, I think the Chinese one is better than the Philips one, purely for the openness – its fairly easy to integrate into other things.
Its still a toy vs a must have, but its a fun toy.
Would I buy one – yes.
Site:
http://www.yeelight.com
Taobao:
http://yeelink.taobao.com/search.htm?spm=a1z10.1.w5002-232341356.1.qYAuEW&search=y
Update –
Received mine, and semi-happy. Its still expensive, but it does work.
Downsides –
There is a slight latency on the color changes – maybe 300ms or so, but otherwise can’t complain.
It doesn’t turn on when you turn the light off / on (which I would have expected). You really have to turn on the light with the App or not at all.
Price!
Upsides –
Works.
Fun.
Will be happy when the next set of items comes out that can interface with it.
Still have to play a little with the API side – might link it to Zoneminder for initial testing similar to the eBuddy we use. Everyone had a go with the app and enjoyed
the iPhone side. Price needs to come down to RMB50 a bulb + R100 for controller before it feels like I’d want to get more of them. As an early adopter though, I’m fairly happy.
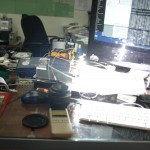
Some actual photos below:

During the research into LCD updating on the T6x IBM’s, I learned a few new things.
One of those was that I had some of the parts lying around the office necessary to make a projector.
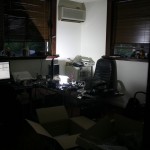
As my office desk typically looks like a mad scientist uses it, I thought I may as well add some more goodies to fill the missing bits.
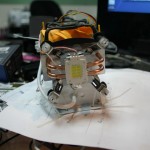
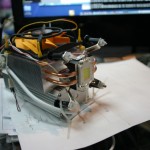
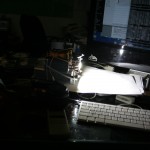
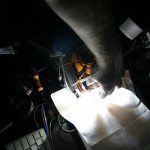
First up was an LED light off taobao. As the 100 watt ones are still a little pricey, I’m going with a 50w one for testing purposes.
Visitors to the office who still have LED driven holes burned into their retina’s agree that yes, it is quite bright.
Probably not bright enough for our purposes, but good enough for testing.
Some photos of that here –

The hokey CPU fan cooler hooked up to the back adds to the effect.

The LED comes in a variety of color temperatures, ranging from yellow white, pure white, through to blue white, we chose pure white, as thats closest to what they normally use in projectors.
Projector and fan came to about 400rmb including shipping. Seller was quite nice to deal with too, and advised us which would be best for the purpose.
Now that our lighting requirements were minimally in place, we looked at the next requirement.
LCD screens.
As the 2 or 3 people that read this blog are aware, I just bought some rather nice QXGA LCD’s. These would be quite nice to use for a projector, but, unfortunately, getting hold of controllers for them is a little bit harder than I thought it would be.
I did manage to find some, but the prices are a little high, so I put that on the back burner for now. I will be looking into that again in the near future though.
First, a little detour onto the subject of LCD’s.
Essentially LCD’s are mass produced these days by a small handful of manufacturers, and the controllers for LCD’s are also mass produced.
Controllers pretty much come in a few different capacities, but essentially they’re all the same featurewise.
You buy a controller based on the maximum resolution it can handle, then program it for the LCD you have.
Controllers are dirt cheap – most can be found for 20rmb low end eg SVGA, through to 120rmb for medium end – eg 1920×1200 /DVI+VGA.
This means that most laptop screens can easily be reused as desktop screens for reasonably cheap prices.
TV’s are also essentially exactly the same as screens now, so the hardware is exactly the same.
Controllers for TV are usually a little more expensive, but not overly so. I bought a multi-input (HDMI, VGA, Tuner etc) with USB for 200rmb.
Different chipsets do better jobs at HD, but its very very generic stuff these days.
You need an invertor board for the lighting (if its not an LED based LCD) – those go for 10-20rmb.
You need a controller card to drive the LCD. (Most sellers will make you a cable for your specific LCD, and program the controller for a minimal charge)
You need a power supply (typically 12v 3amps+-).
Lastly you need a case.
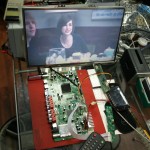
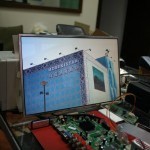
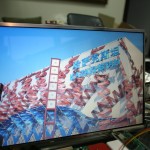
We gave this a test run with a salvaged a 14″ LCD from a hosed laptop.
We bought a controller board (20rmb), power supply + empty screen casing (130rmb) off taobao. While it wasn’t necessarily worth it to do that, we did learn that its fairly easy.
Programming controllers is also pretty straightforward, but I’ll probably expand on that in another post.
As I wanted an HD capable projector I looked at what the smallest size HD screen (WUXGA) available on the market today is – that happens to be the Samsung LTN154U1
I got mine for about 500rmb.
Most people will be wondering right now at this point how an LCD screen is going to be used in a projector.
Essentially LCD’s are transparent – an LCD screen typically comes sold ready to use. This means its shipped with lighting built in, plus a reflective back surface.
We’re going to need to denude the LCD off all that – I’m going to have to disassemble the LCD display, and take out all the non-essentials. What I’ll end up with will be transparent, and fairly delicate.
Hopefully I won’t break anything when I take the LCD out of the casing, and remove the lighting, backing etc. Breaking it will be costly!
Next we’ll need a way to shine our light source through the LCD.
While we have a strong light – it won’t be very useful as is, as the light will mostly be concentrated in the center of wherever its pointed at.
So, we need a way to disperse the light in a directed way.
Typically this is done with a Fresnel. Fresnels are rather cool lens typically made out of plastic. They magnify or reduce anything passed through them.
We’ll be using a fresnel in front of the LED light to disperse the light evenly through the LCD.
Once its through the LCD, we’ll be using another Fresnel to concentrate the light back into a smaller focal area, so that we can throw it through a lens, and see something on a screen.
For a 15.4″ screen, we need a 400×320 sized 330mm Fresnel, and a 500mm Fresnel.
The 330mm (aka our collimator) will be placed in front of the light source, the LCD will be placed 10-15mm in front of that, then finally the 500mm (aka our collector) to concentrate the light + display output into a nice ready to use focal area for our rather expensive triplet lens.
We’re using a 500mm triplet as the lens, mostly as all the projector websites are using those for 15.4″ screens.
Fresnels were fairly cheap – 80rmb each or so.
The lens was rather more expensive. Ours was close to 600rmb with shipping!
When it arrived, we saw why. It definitely feels like its worth the money.. Unfortunately ours arrived with a crack from shipping, so we had to send it back. The replacement should arrive in a day or three.
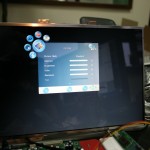
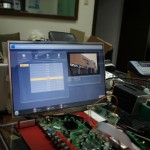
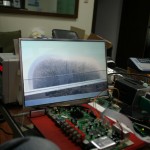
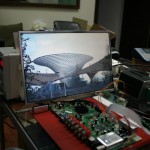
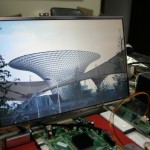
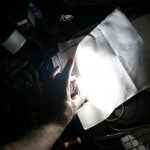
While I haven’t setup the fresnels yet in action, I did test out the controller board, and LCD.
Photo’s below of everything.


While I haven’t built any casing yet, I’m fairly confident we should be able to knock something up quickly to house all the parts.
Hopefully ours will be sturdier than this professional build I saw online –

Archives
- November 2024
- November 2019
- October 2019
- August 2019
- April 2019
- February 2017
- September 2016
- June 2016
- May 2016
- September 2015
- August 2015
- June 2015
- April 2015
- December 2014
- October 2014
- September 2014
- July 2014
- June 2014
- April 2014
- October 2013
- July 2013
- May 2013
- April 2013
- March 2013
- January 2013
- December 2012
- October 2012
- August 2012
- July 2012
- June 2012
- May 2012
- April 2012
- March 2012
- December 2011
- November 2011
- October 2011
- September 2011
- July 2011
- May 2011
- April 2011
- March 2011
- February 2011
- January 2011
- December 2010
- November 2010
- October 2010
- September 2010
- August 2010
- July 2010
- June 2010
- May 2010
- April 2010
- March 2010
- February 2010
- January 2010
- December 2009
- November 2009
- October 2009
- May 2009
- April 2009
- March 2009
- February 2009
- January 2009
- December 2008
- November 2008
- October 2008
- September 2008
Categories
- Apple
- Arcade Machines
- Badges
- BMW
- China Related
- Cool Hunting
- Exploits
- Firmware
- Food
- General Talk
- government
- IP Cam
- iPhone
- Lasers
- legislation
- MODx
- MySQL
- notice
- qmail
- requirements
- Reviews
- Service Issues
- Tao Bao
- Technical Mumbo Jumbo
- Things that will get me censored
- Travel
- Uncategorized
- Useful Info