As I’ve been dabbling in the mad sciences recently, I thought I’d get some more toys.
This culminated in the purchase of a laser engraver.
This is it sitting next to another interesting toy I own – a CNC. He who dies with the most toys wins dontcha know 🙂
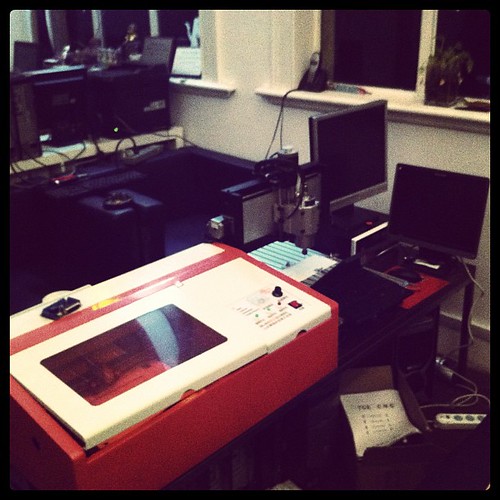
The engraver came with some exceedingly shite Chinese software (Moshi Engraver), but I did know that, and had ordered a cnc controller board with the idea of retrofitting that in. (its actually in the photo above funnily enough)
It has sat in the office mildly unused, but still in my thoughts.
One of my clients finally asked what was that large orange thing upstairs, and I dragged it out and setup for them to show off some test paper cuts.
Tomorrow will take a closer look at working out the pinouts as I didn’t get very far today in getting EMC2 talking nicely to to the Y axis (which was the goal for tonight).
Long term will be interested in making it work as a printer driven hardware device, but for now EMC2 is good enough.
http://www.laoslaser.org/ is making interesting progress in that regard, and I might look at talking directly to the Engraver factory about integrating and making a few with a few to selling a *decent* version.
As this will be a work in progress, here are the links that will be useful.
Some need a vee pee en to view in China sadly.
http://www.cnczone.com/forums/laser_engraving_cutting_machines/138554-cheap_laser_cutter_modifications.html
http://www.thinkhaus.org/2010/06/19/howto-turn-a-cheap-chinese-laser-engraver-into-a-pretty-good-laser-cutter/
http://www.stephenhobley.com/blog/2011/04/15/upgrading-a-laser-cutter-from-china/
http://www.andyslater.com/laser-cutting/cnc-conversion.html
http://dank.bengler.no/-/page/show/5473_connectinggrbl
http://www.synthfool.com/laser/
http://www.laoslaser.org/
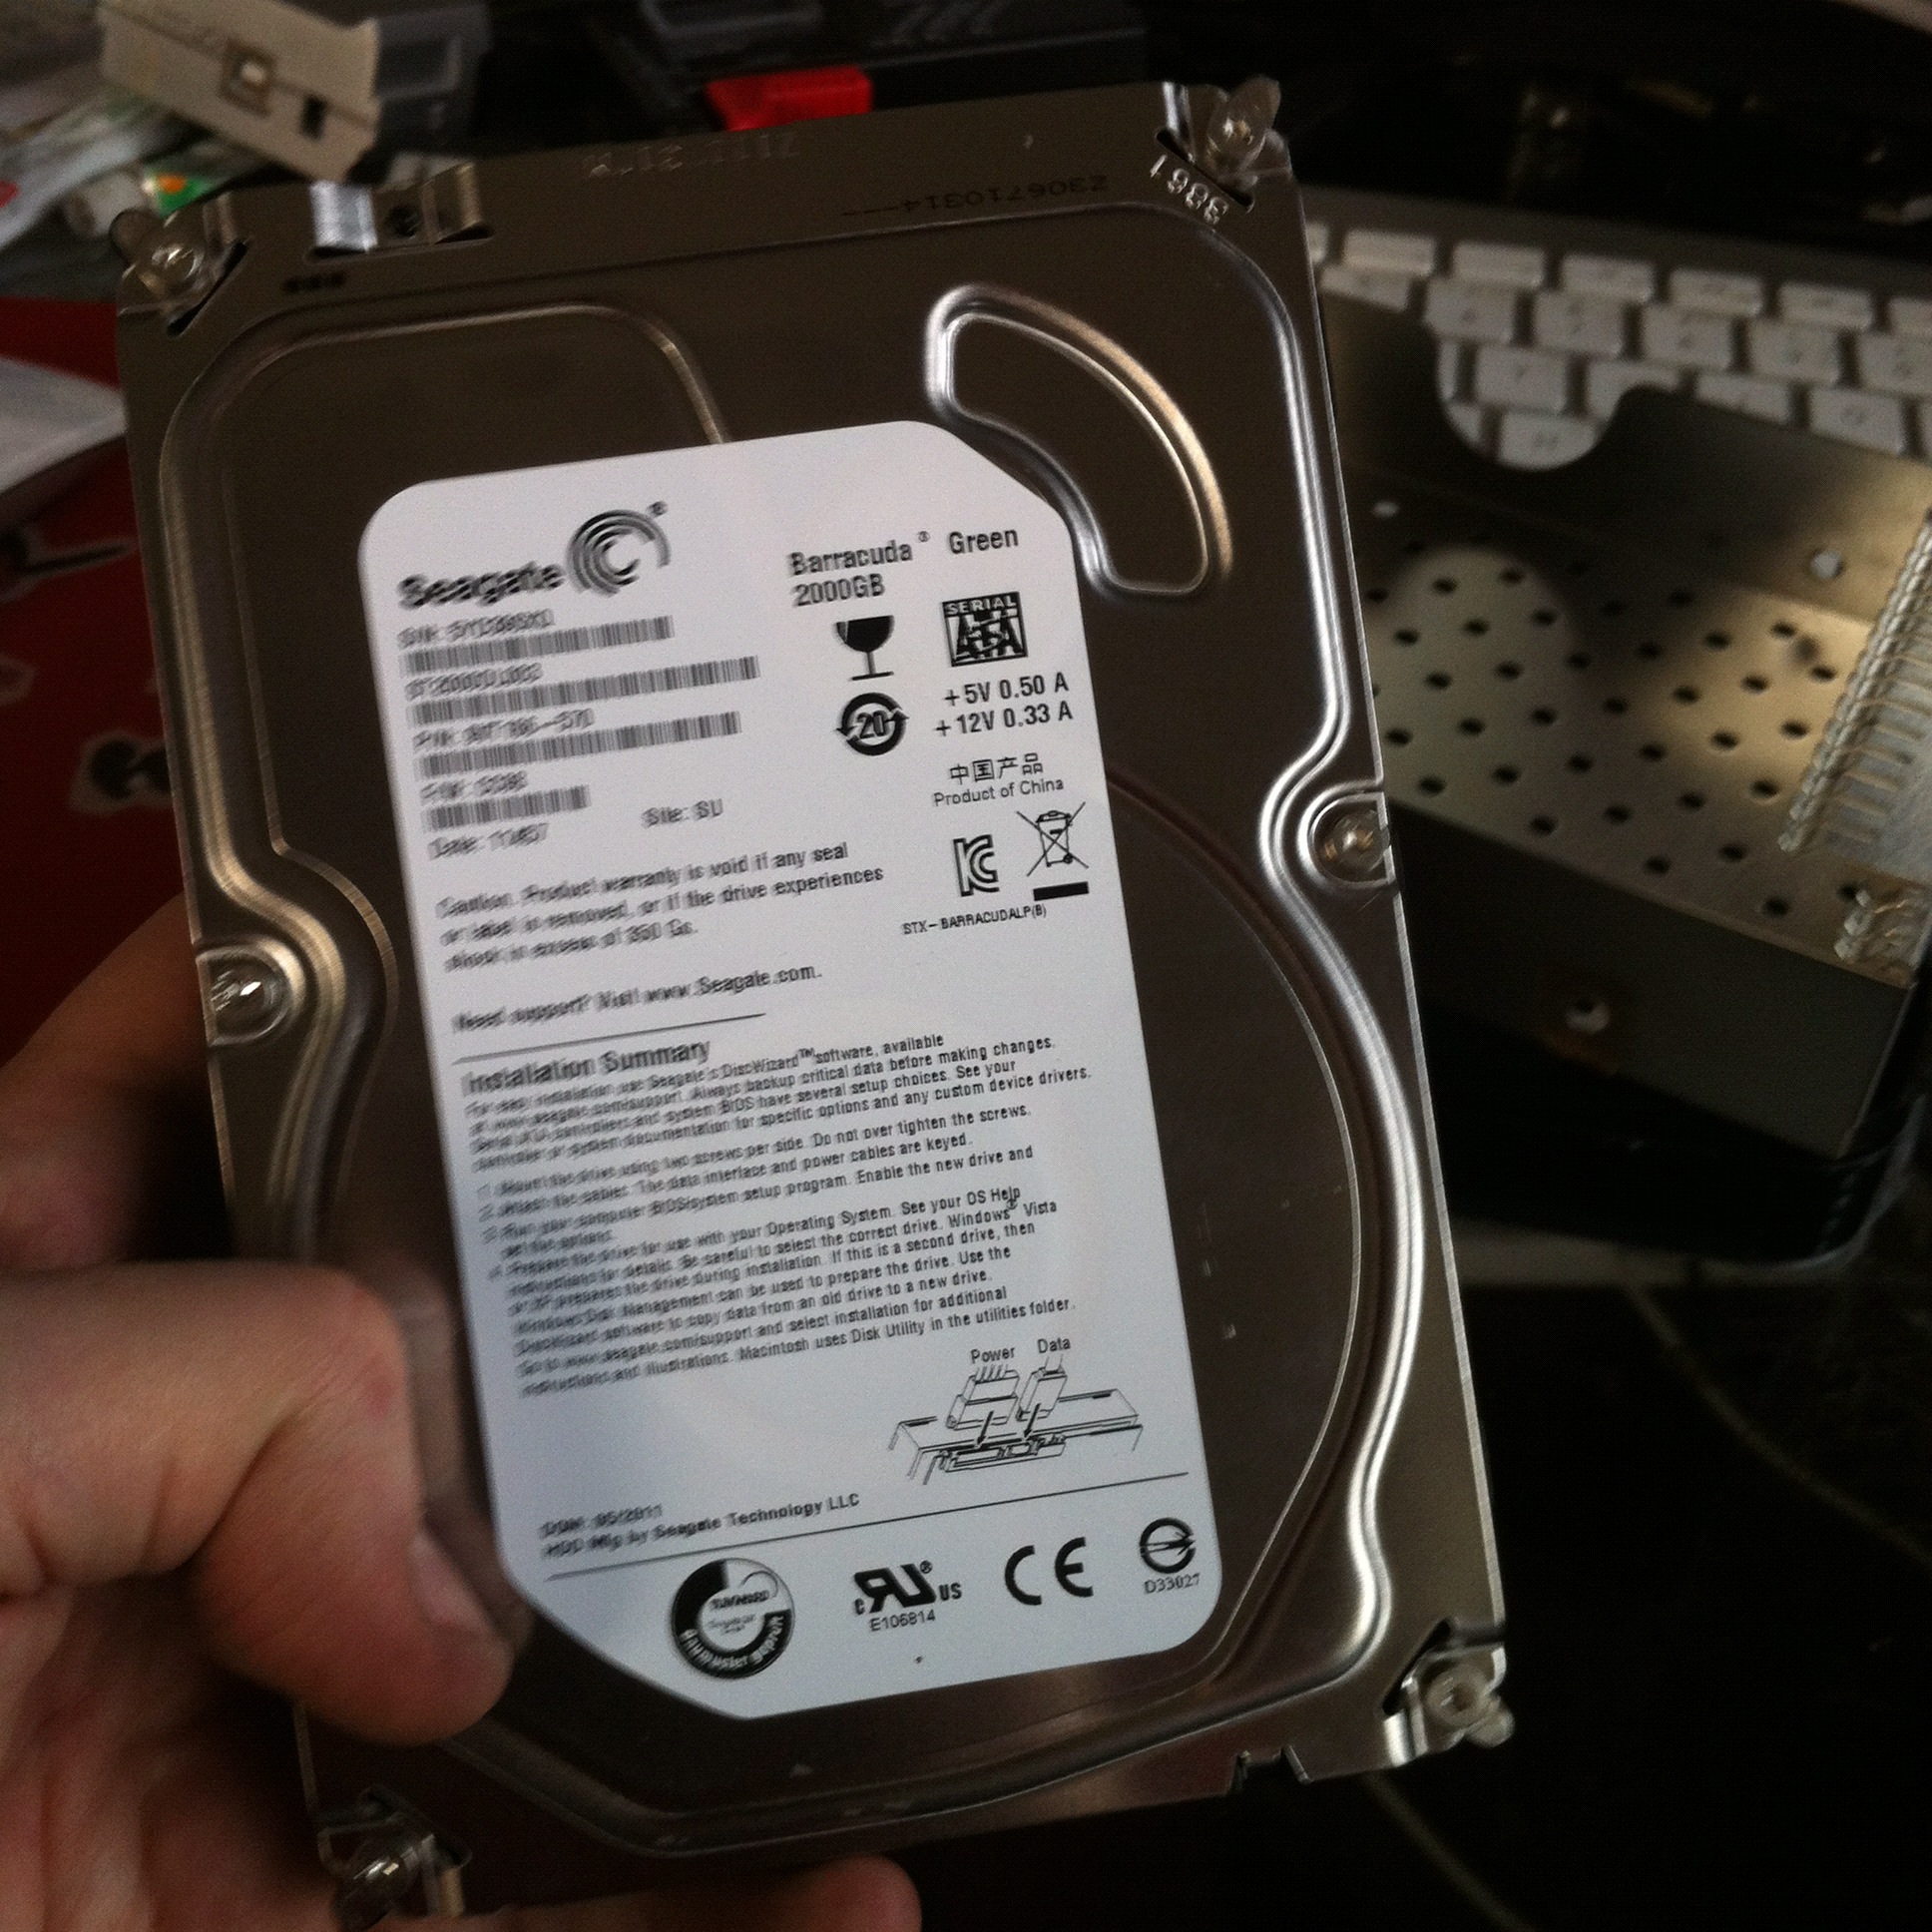
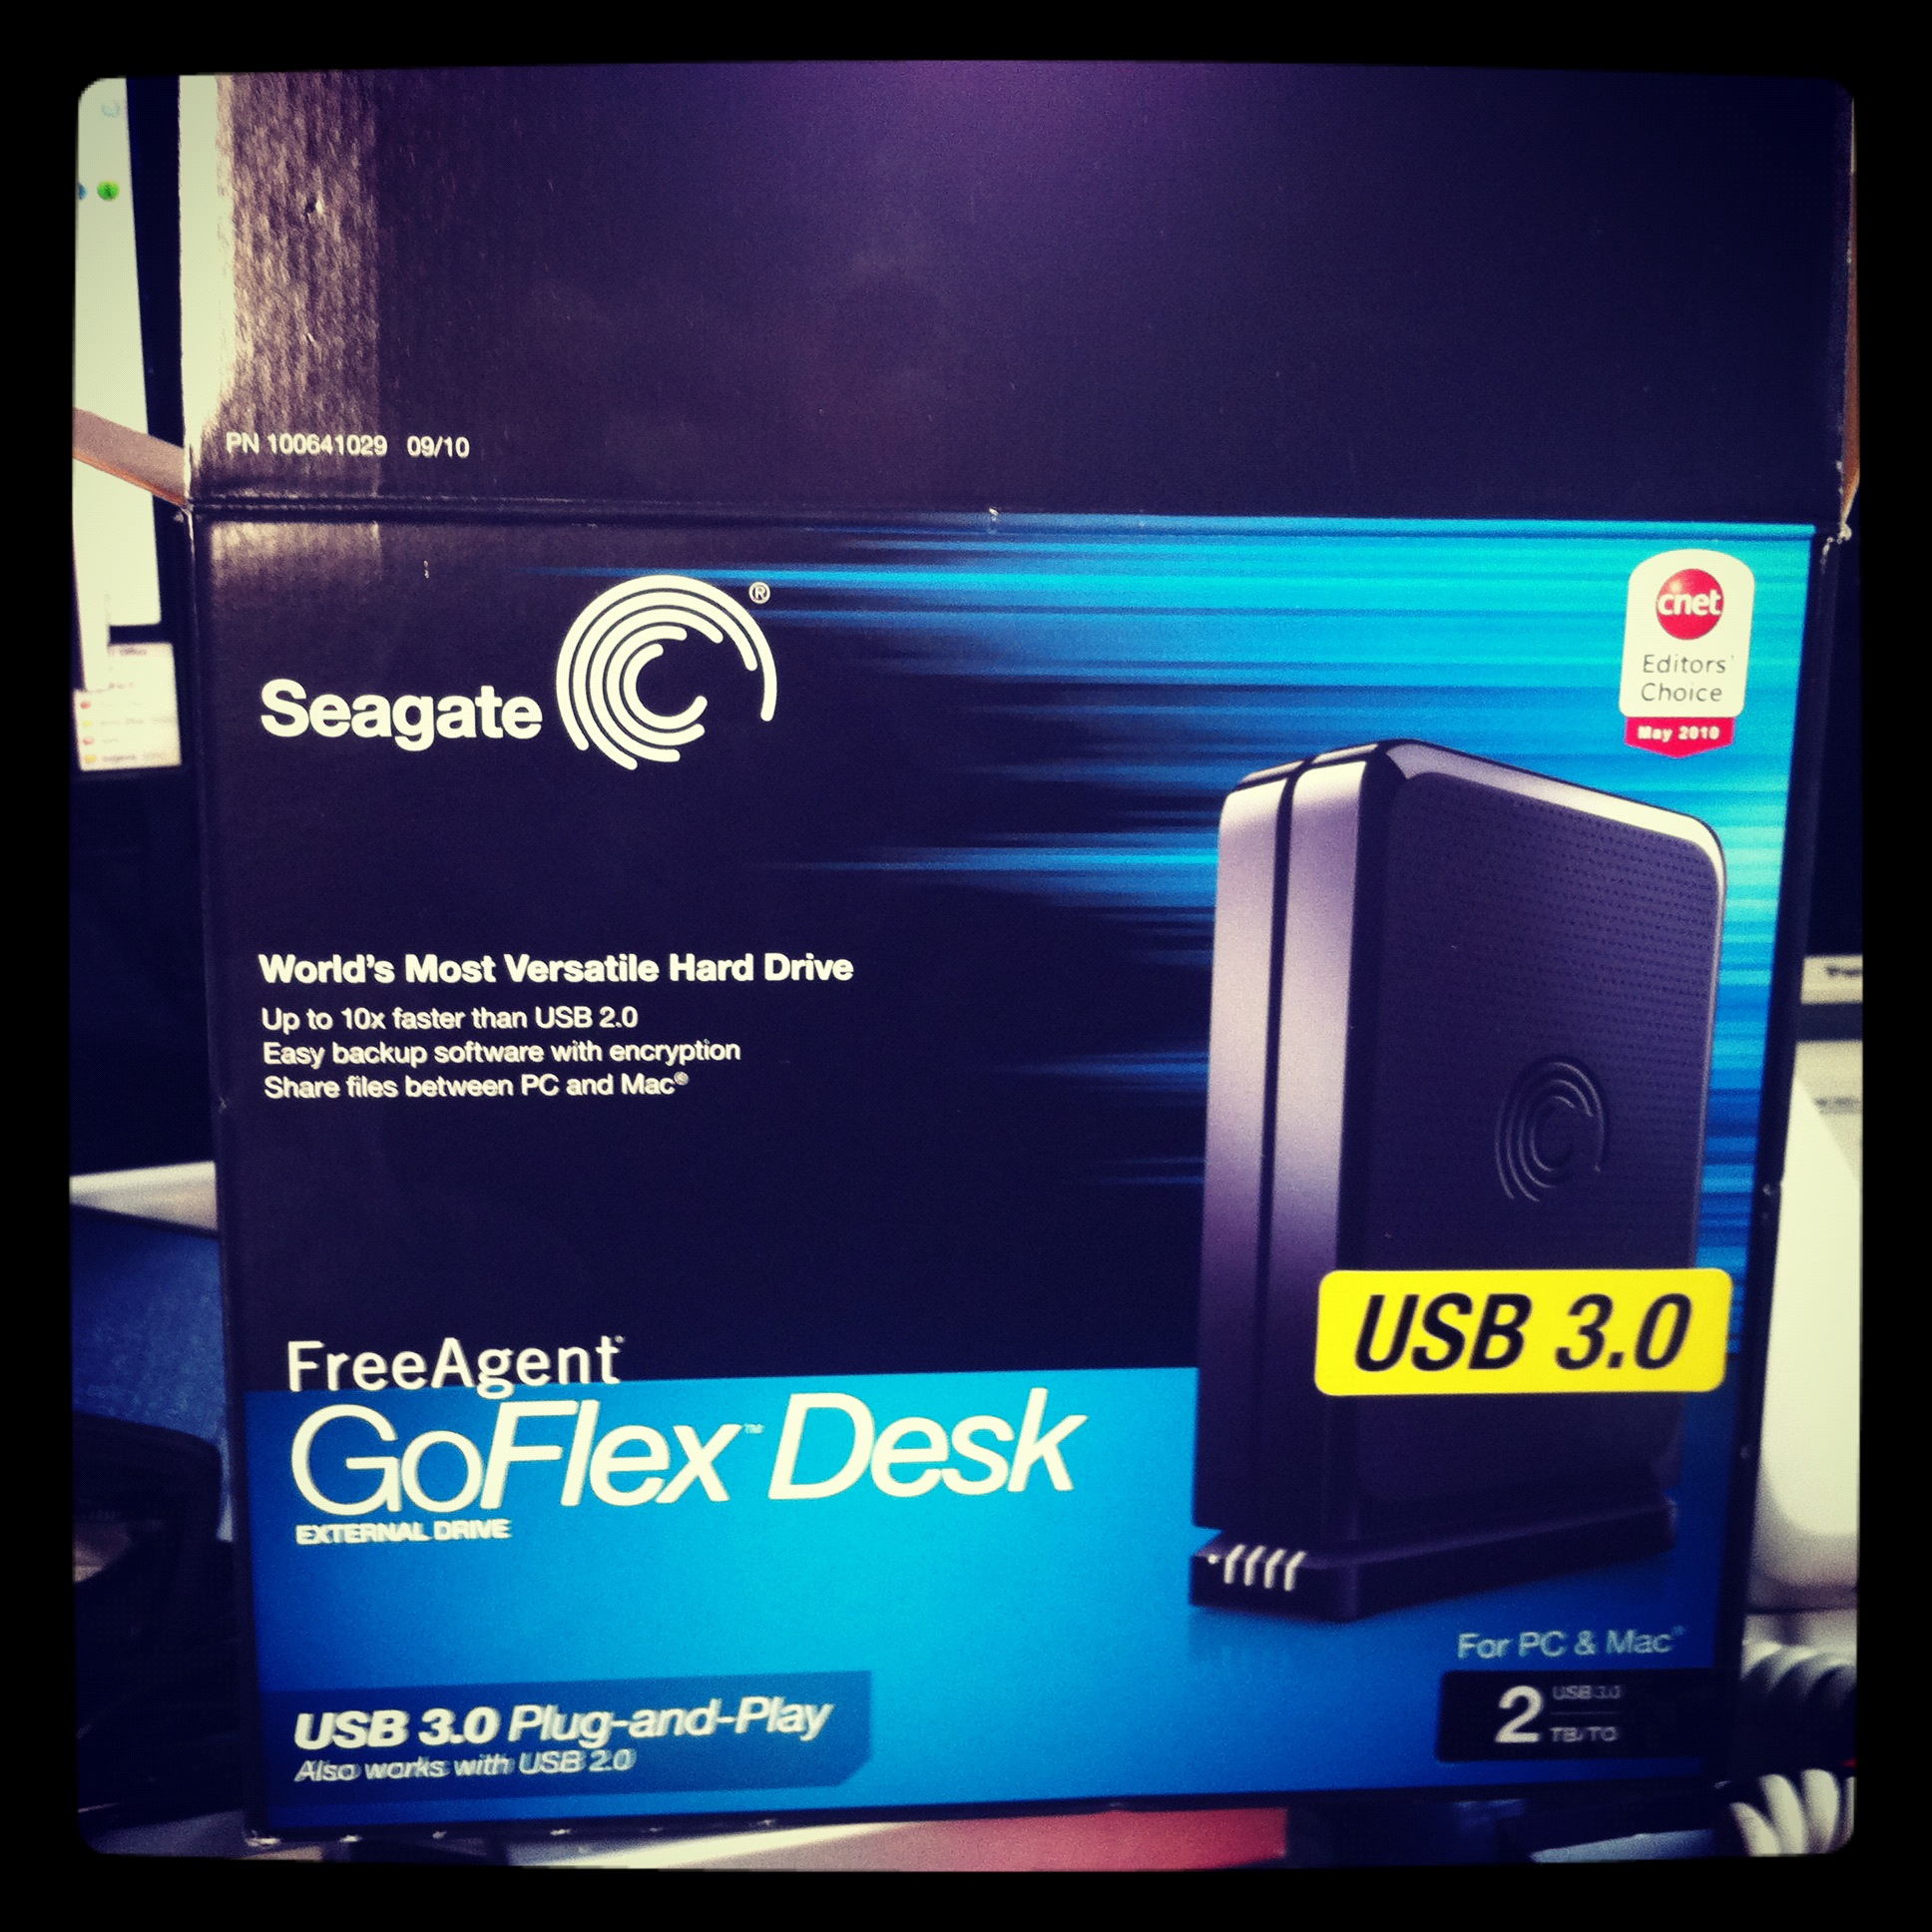
As drive prices have increased somewhat to roughly 200% in price locally over the last few weeks for raw drives, and external drive cases have not, I advised a client recently to purchase an external hard drive to save some money.
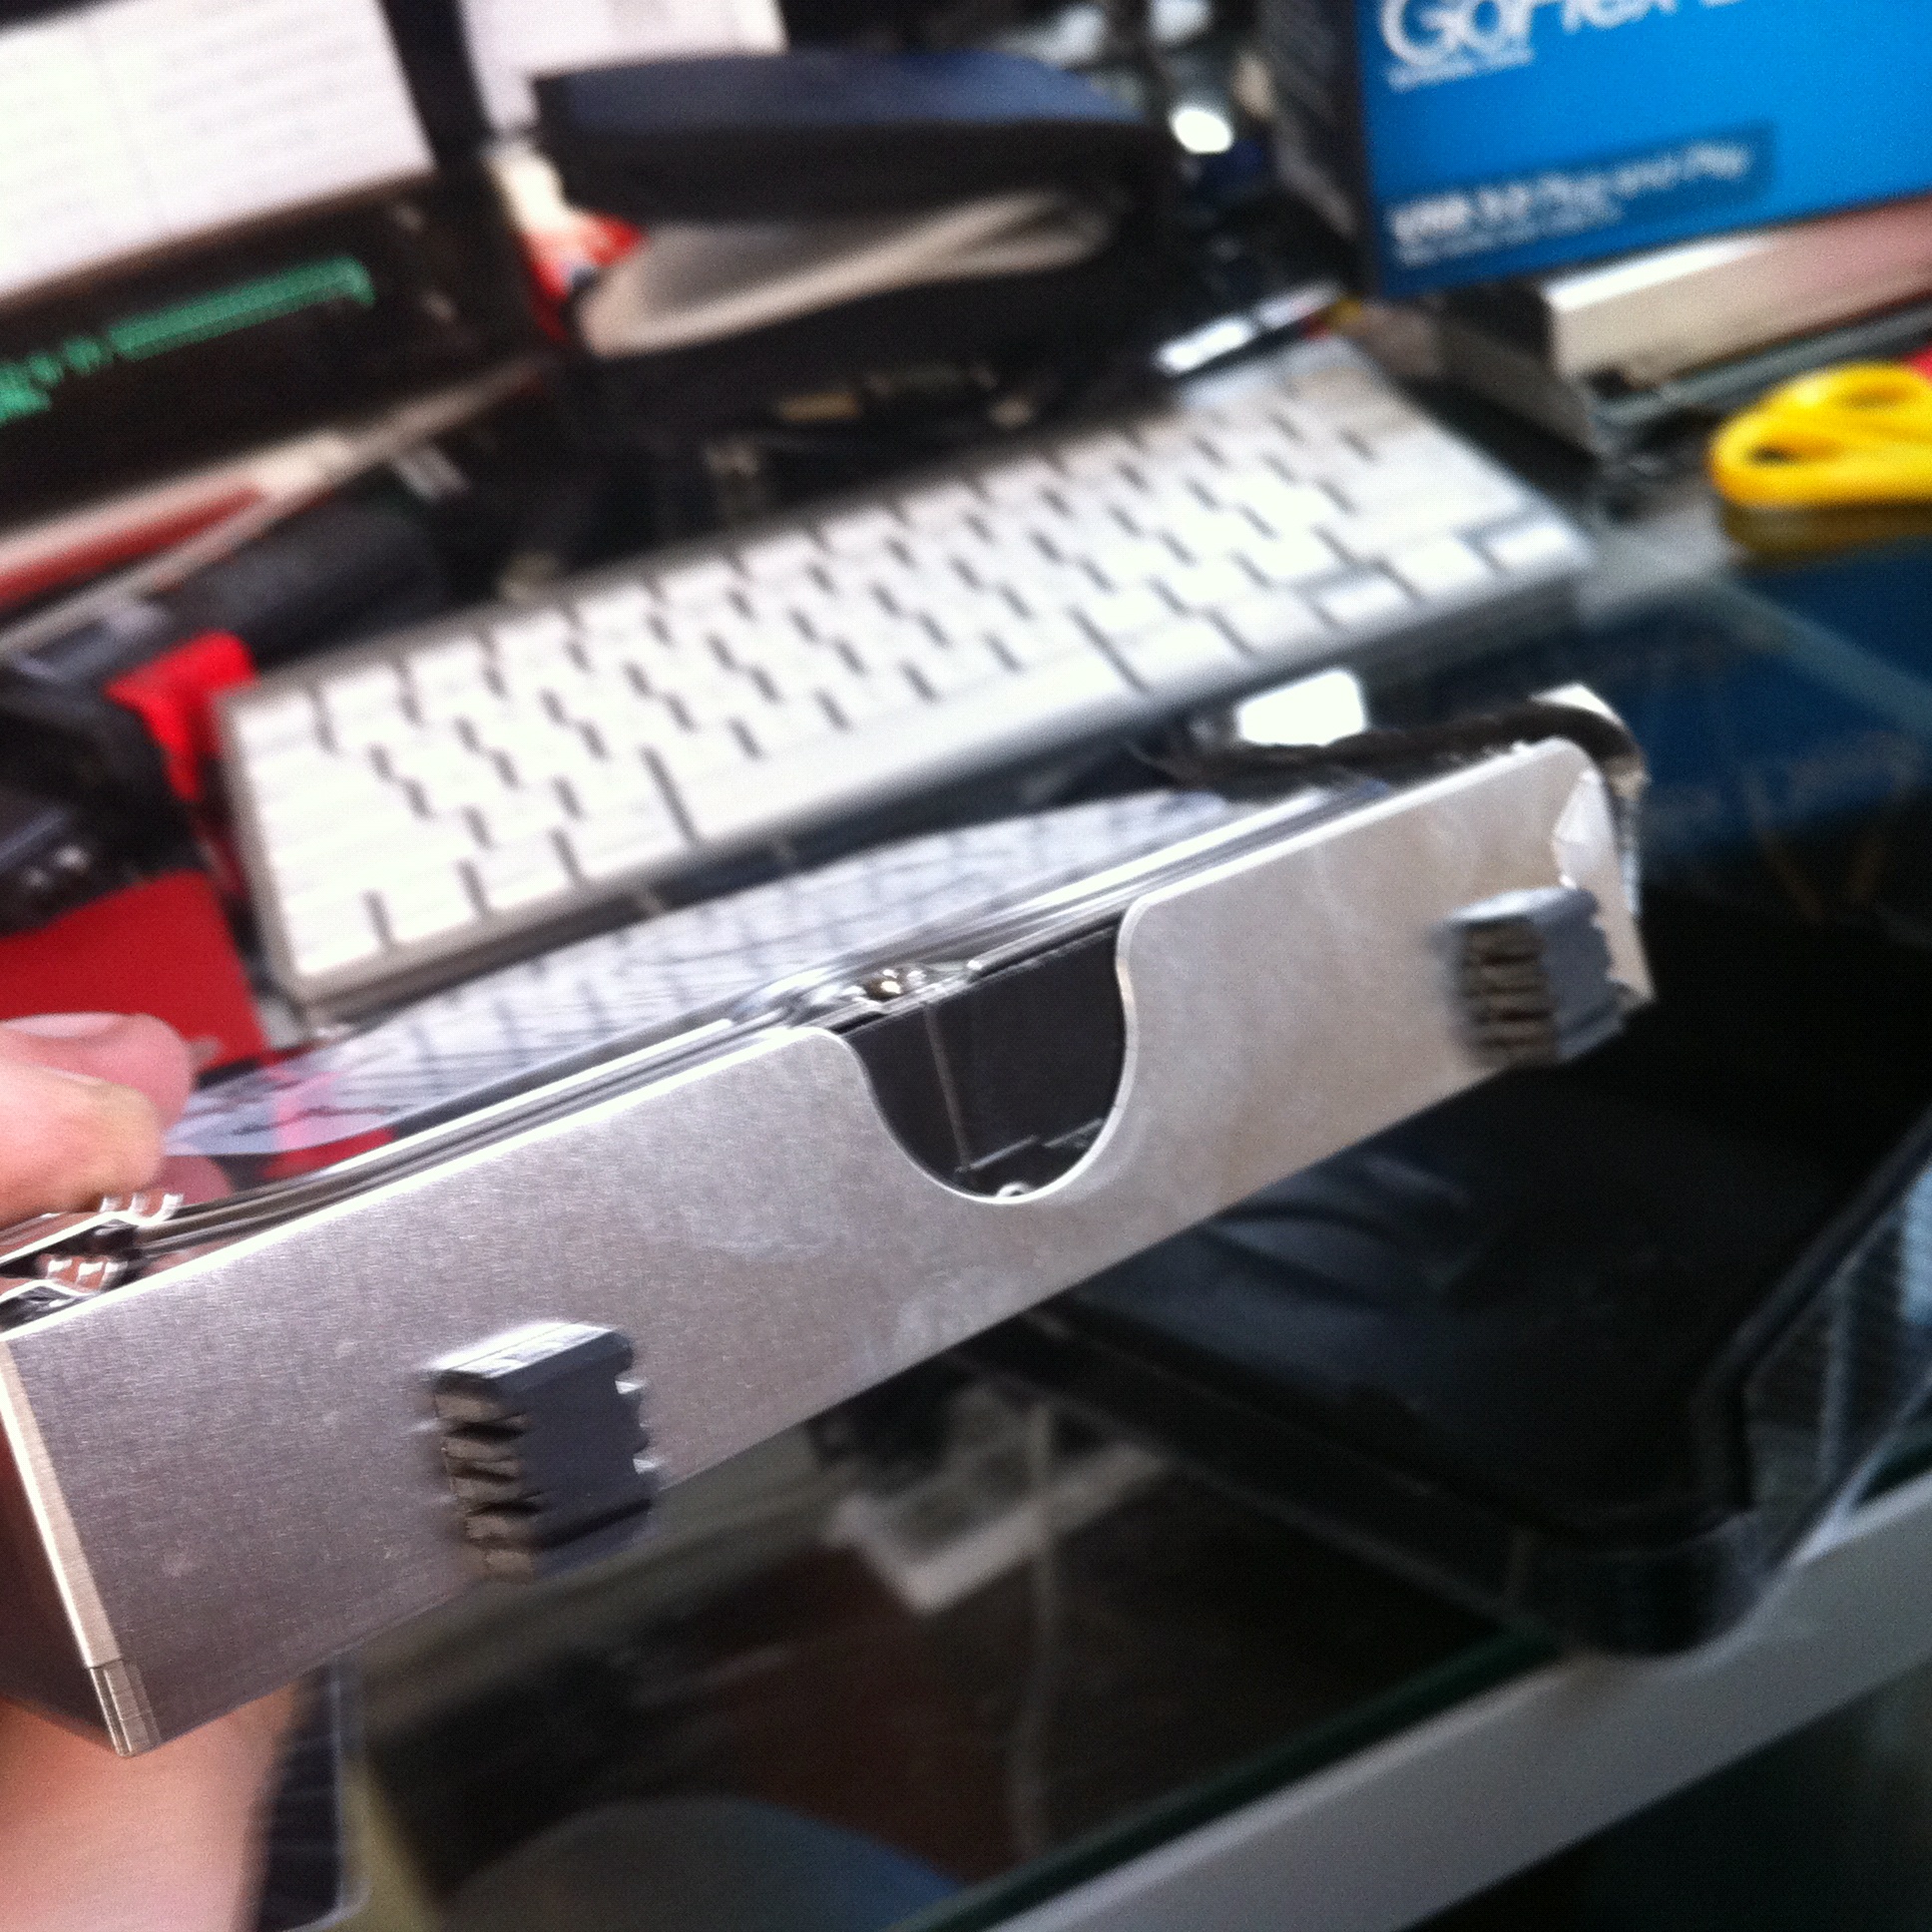
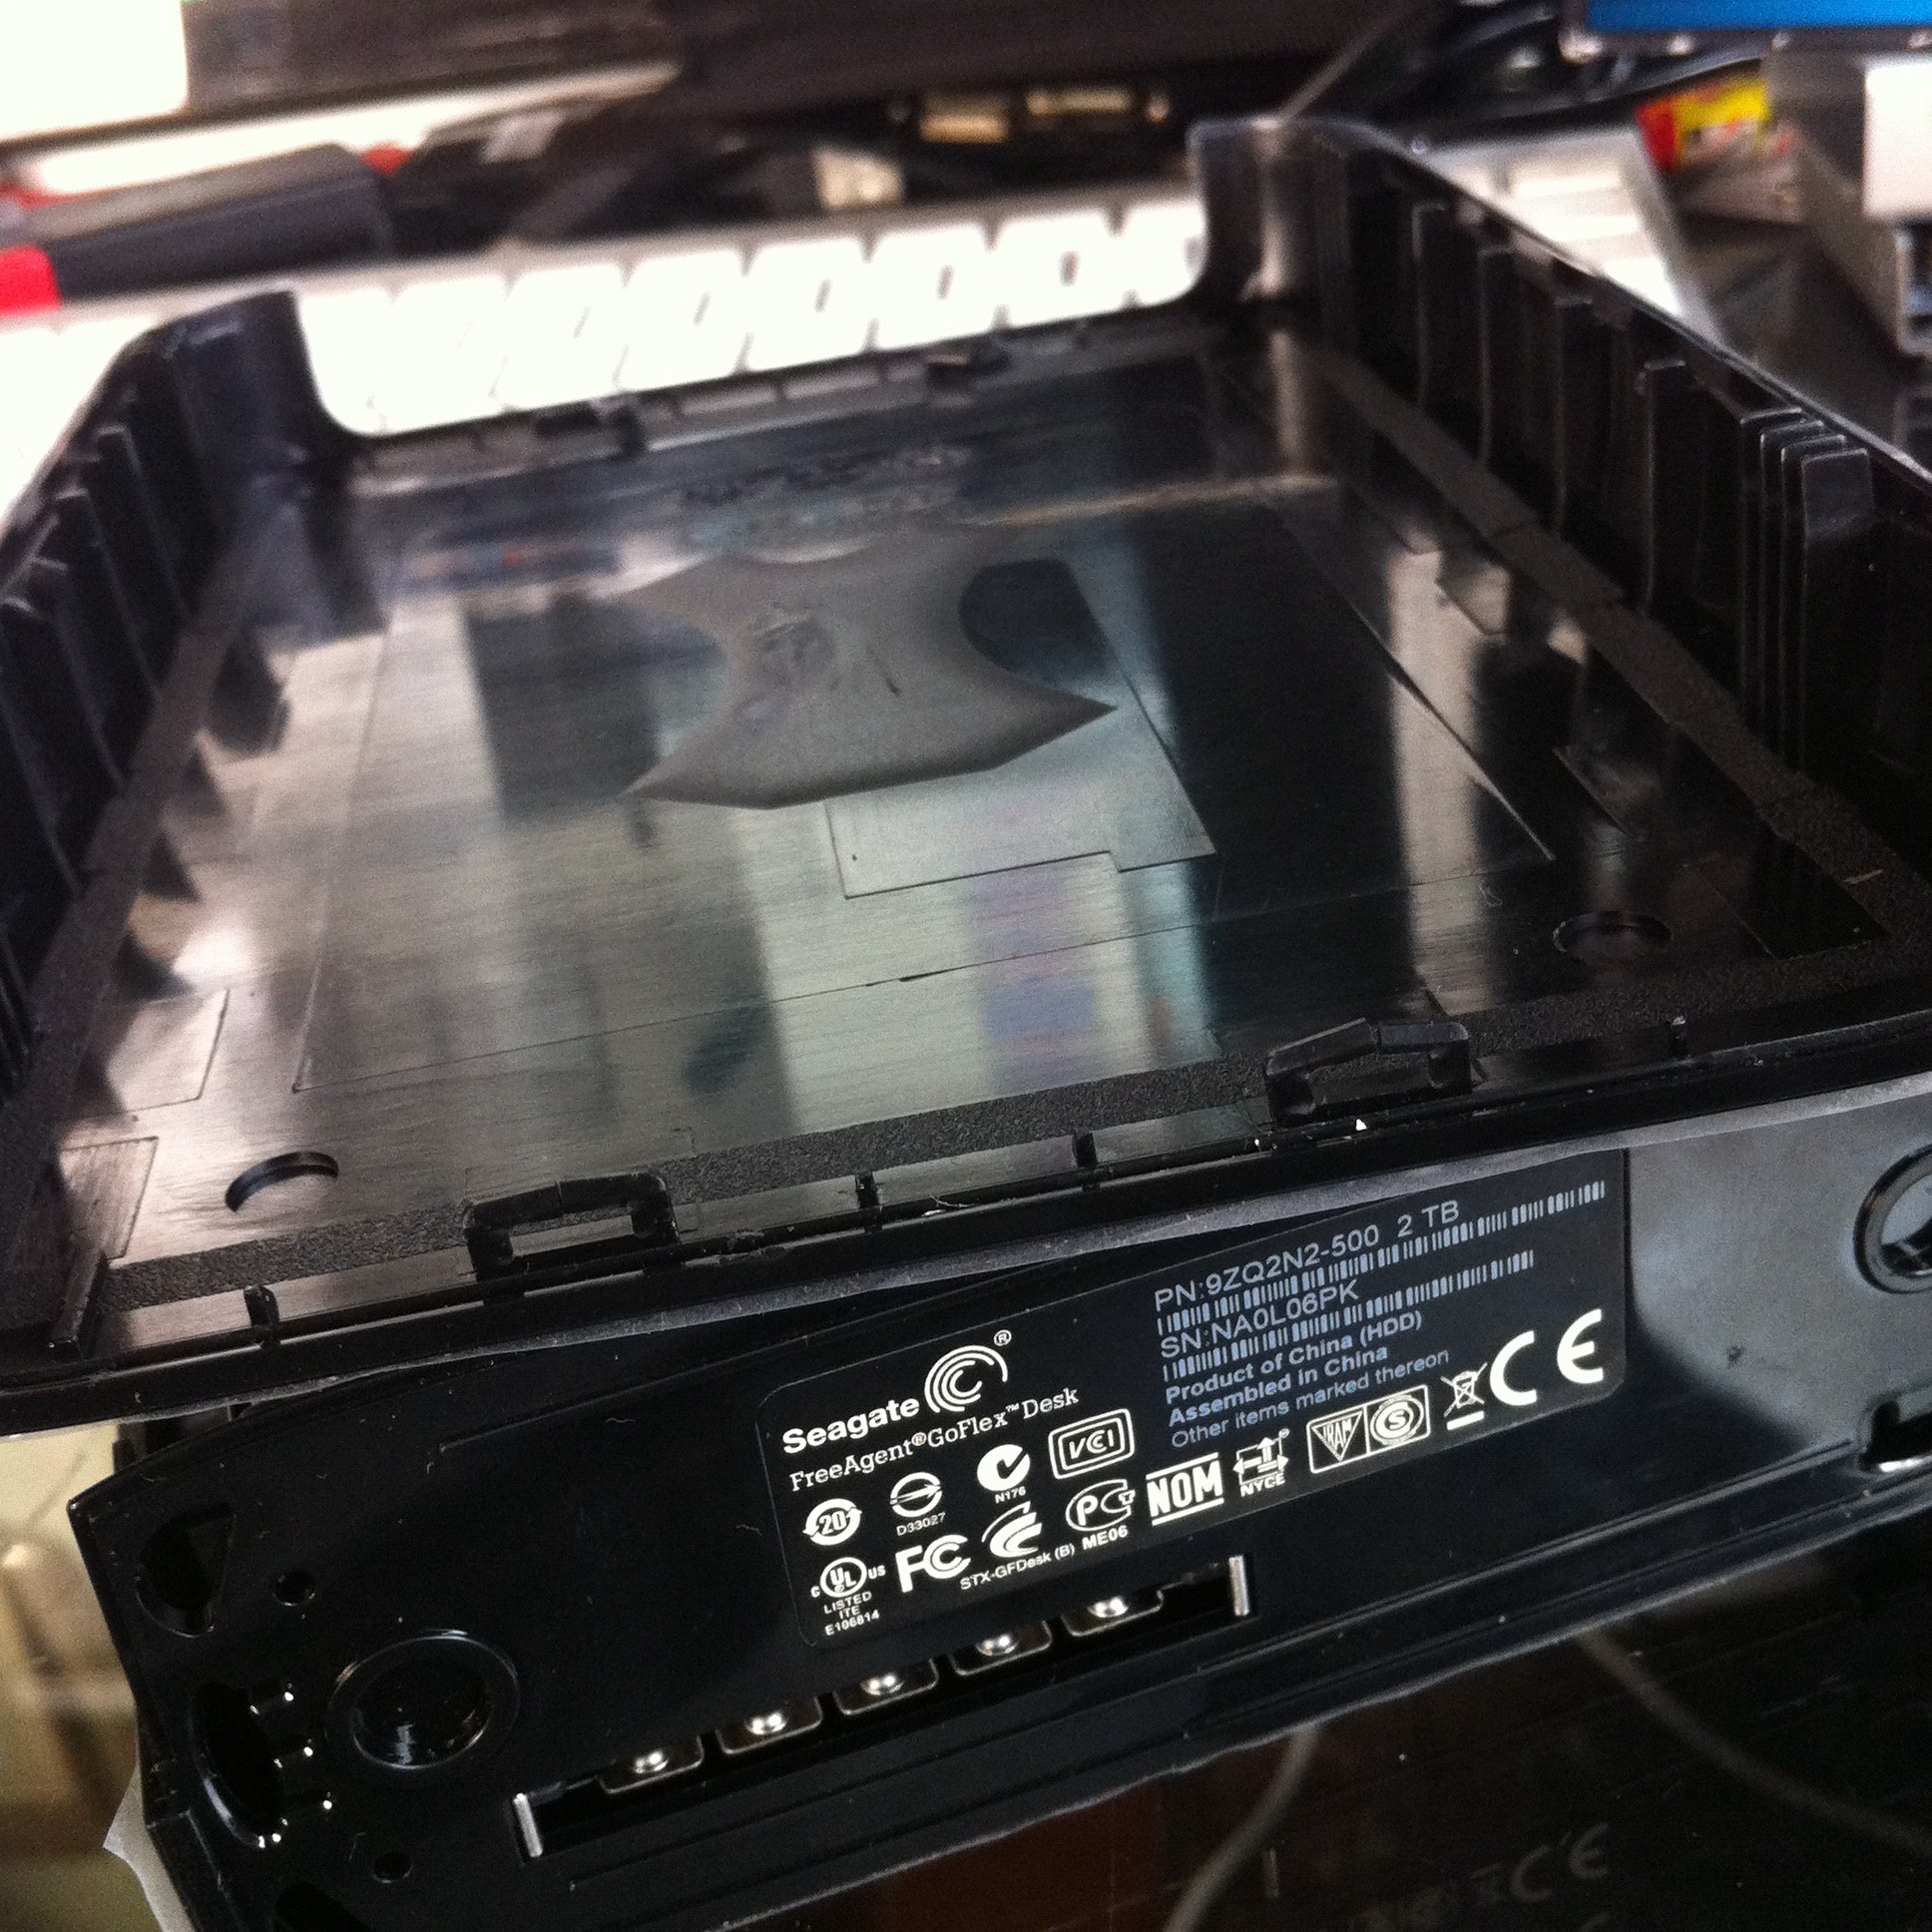
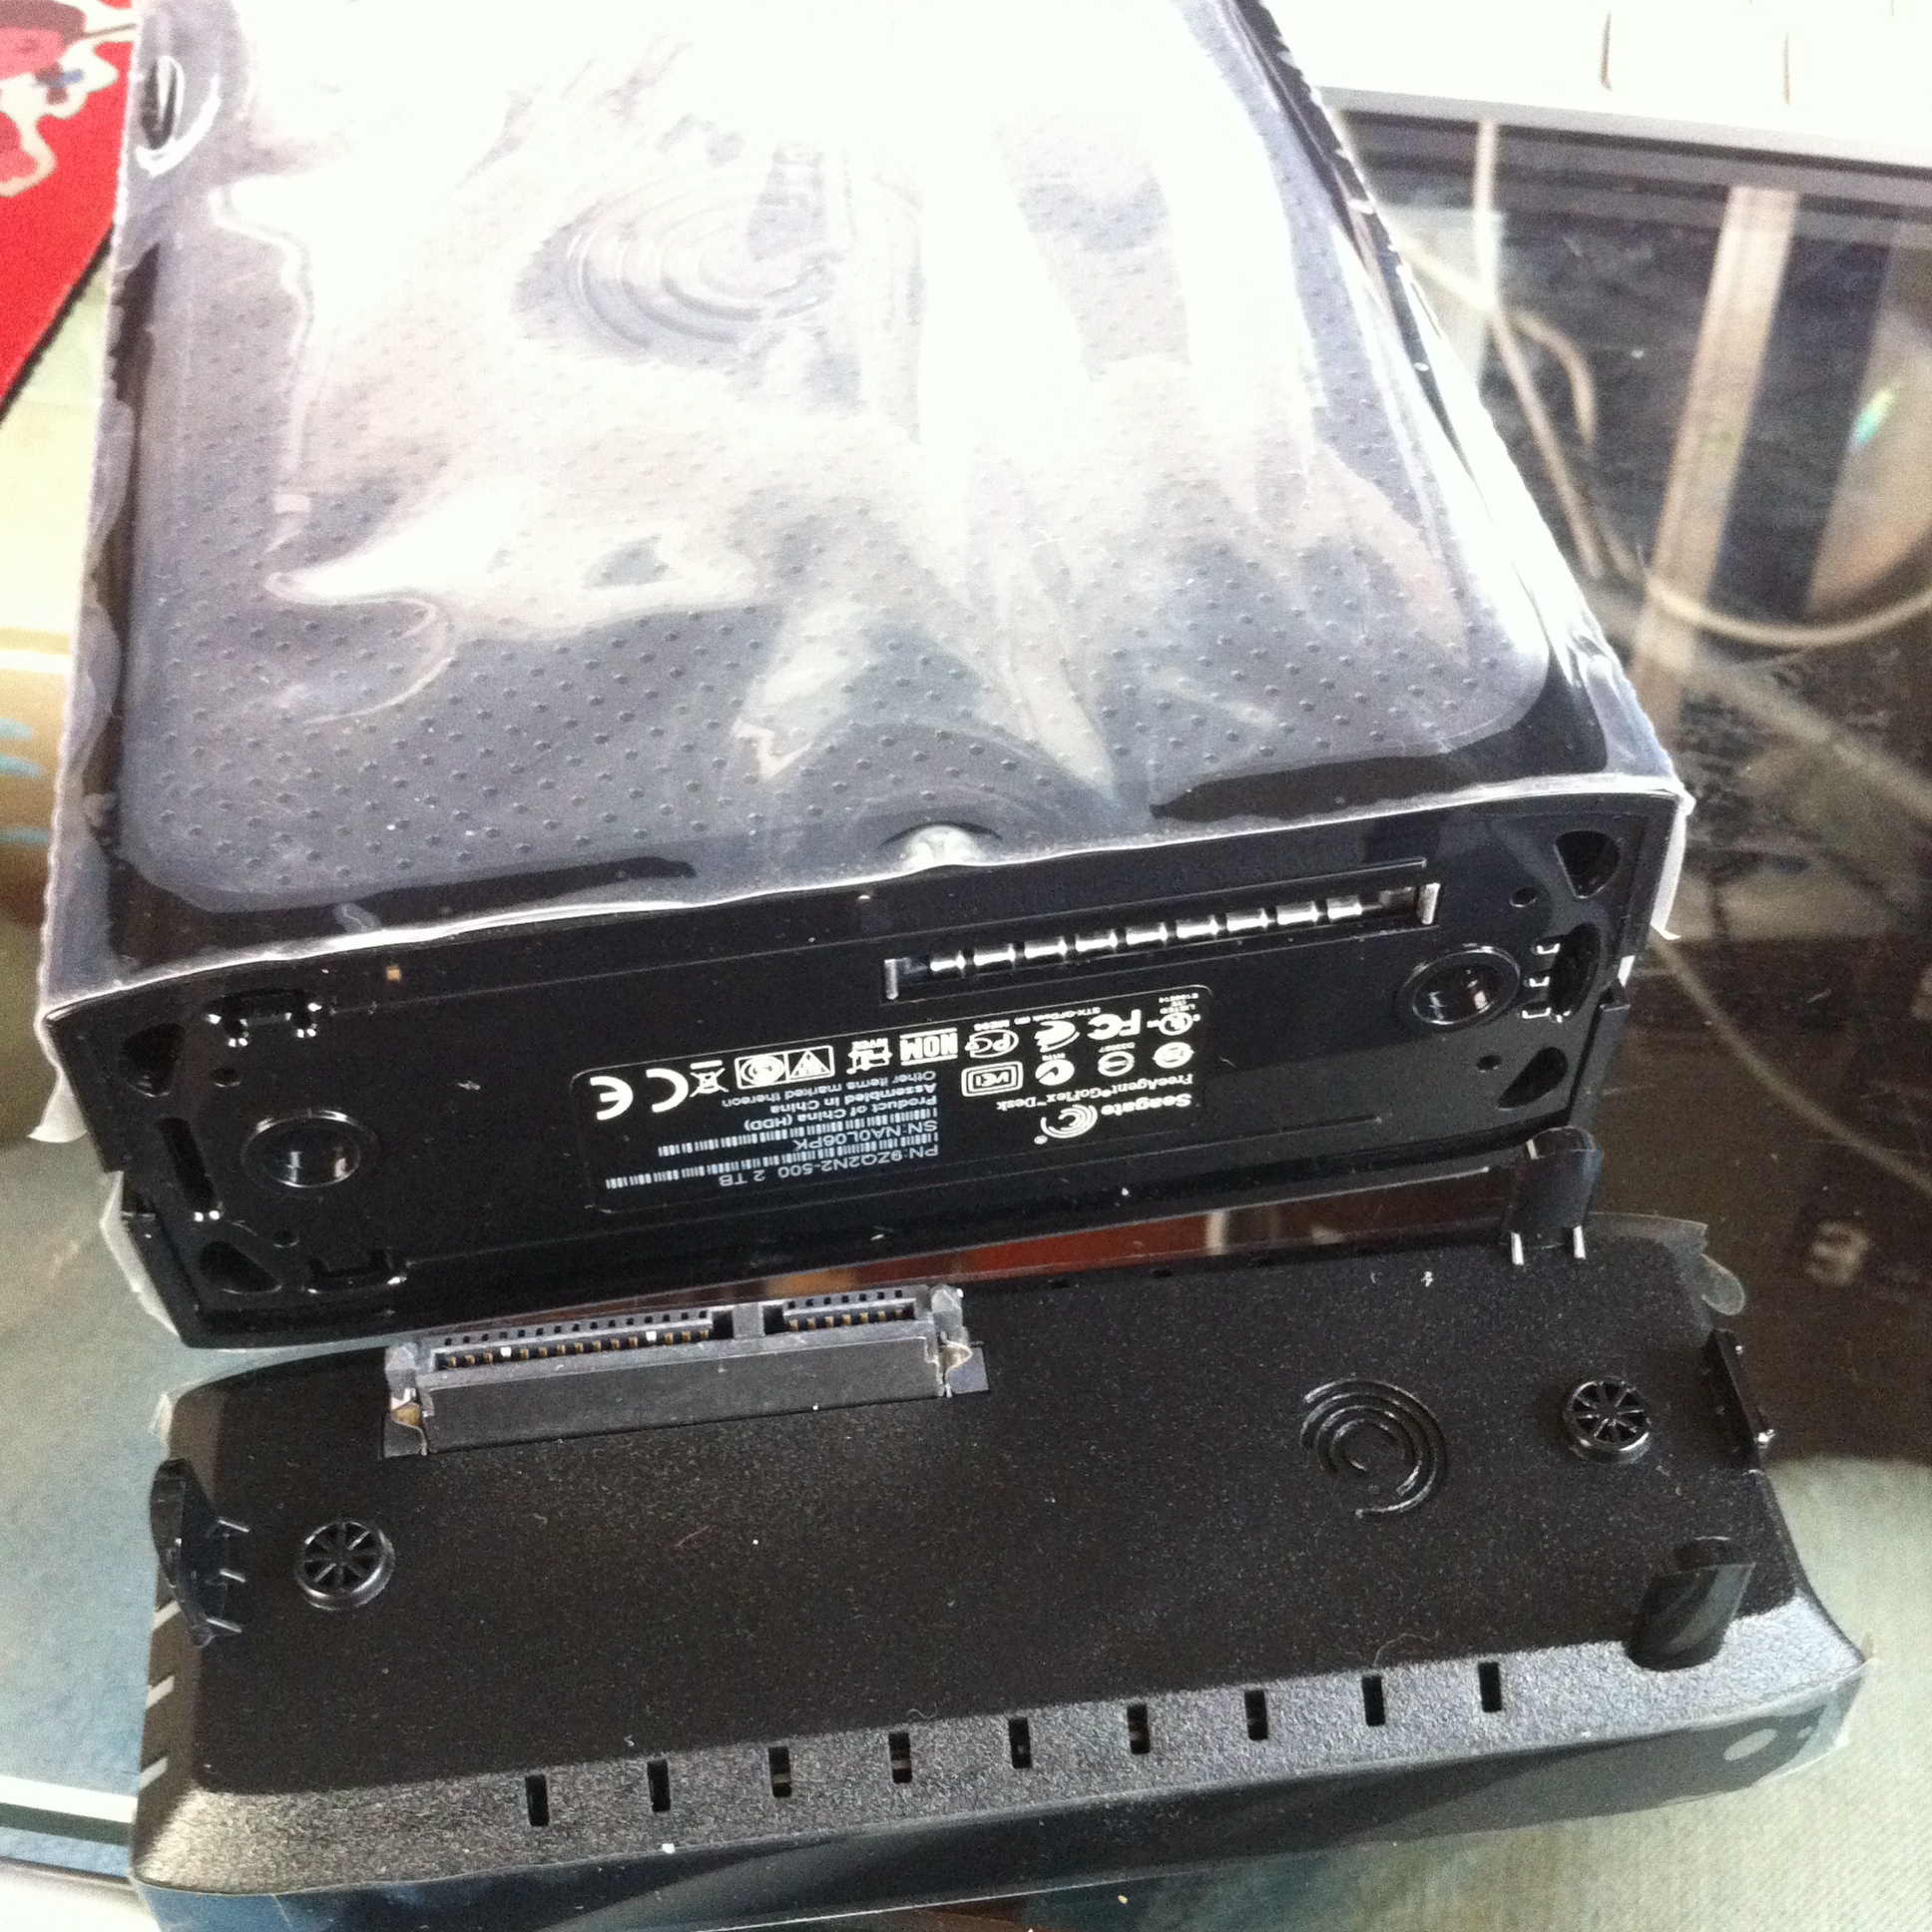
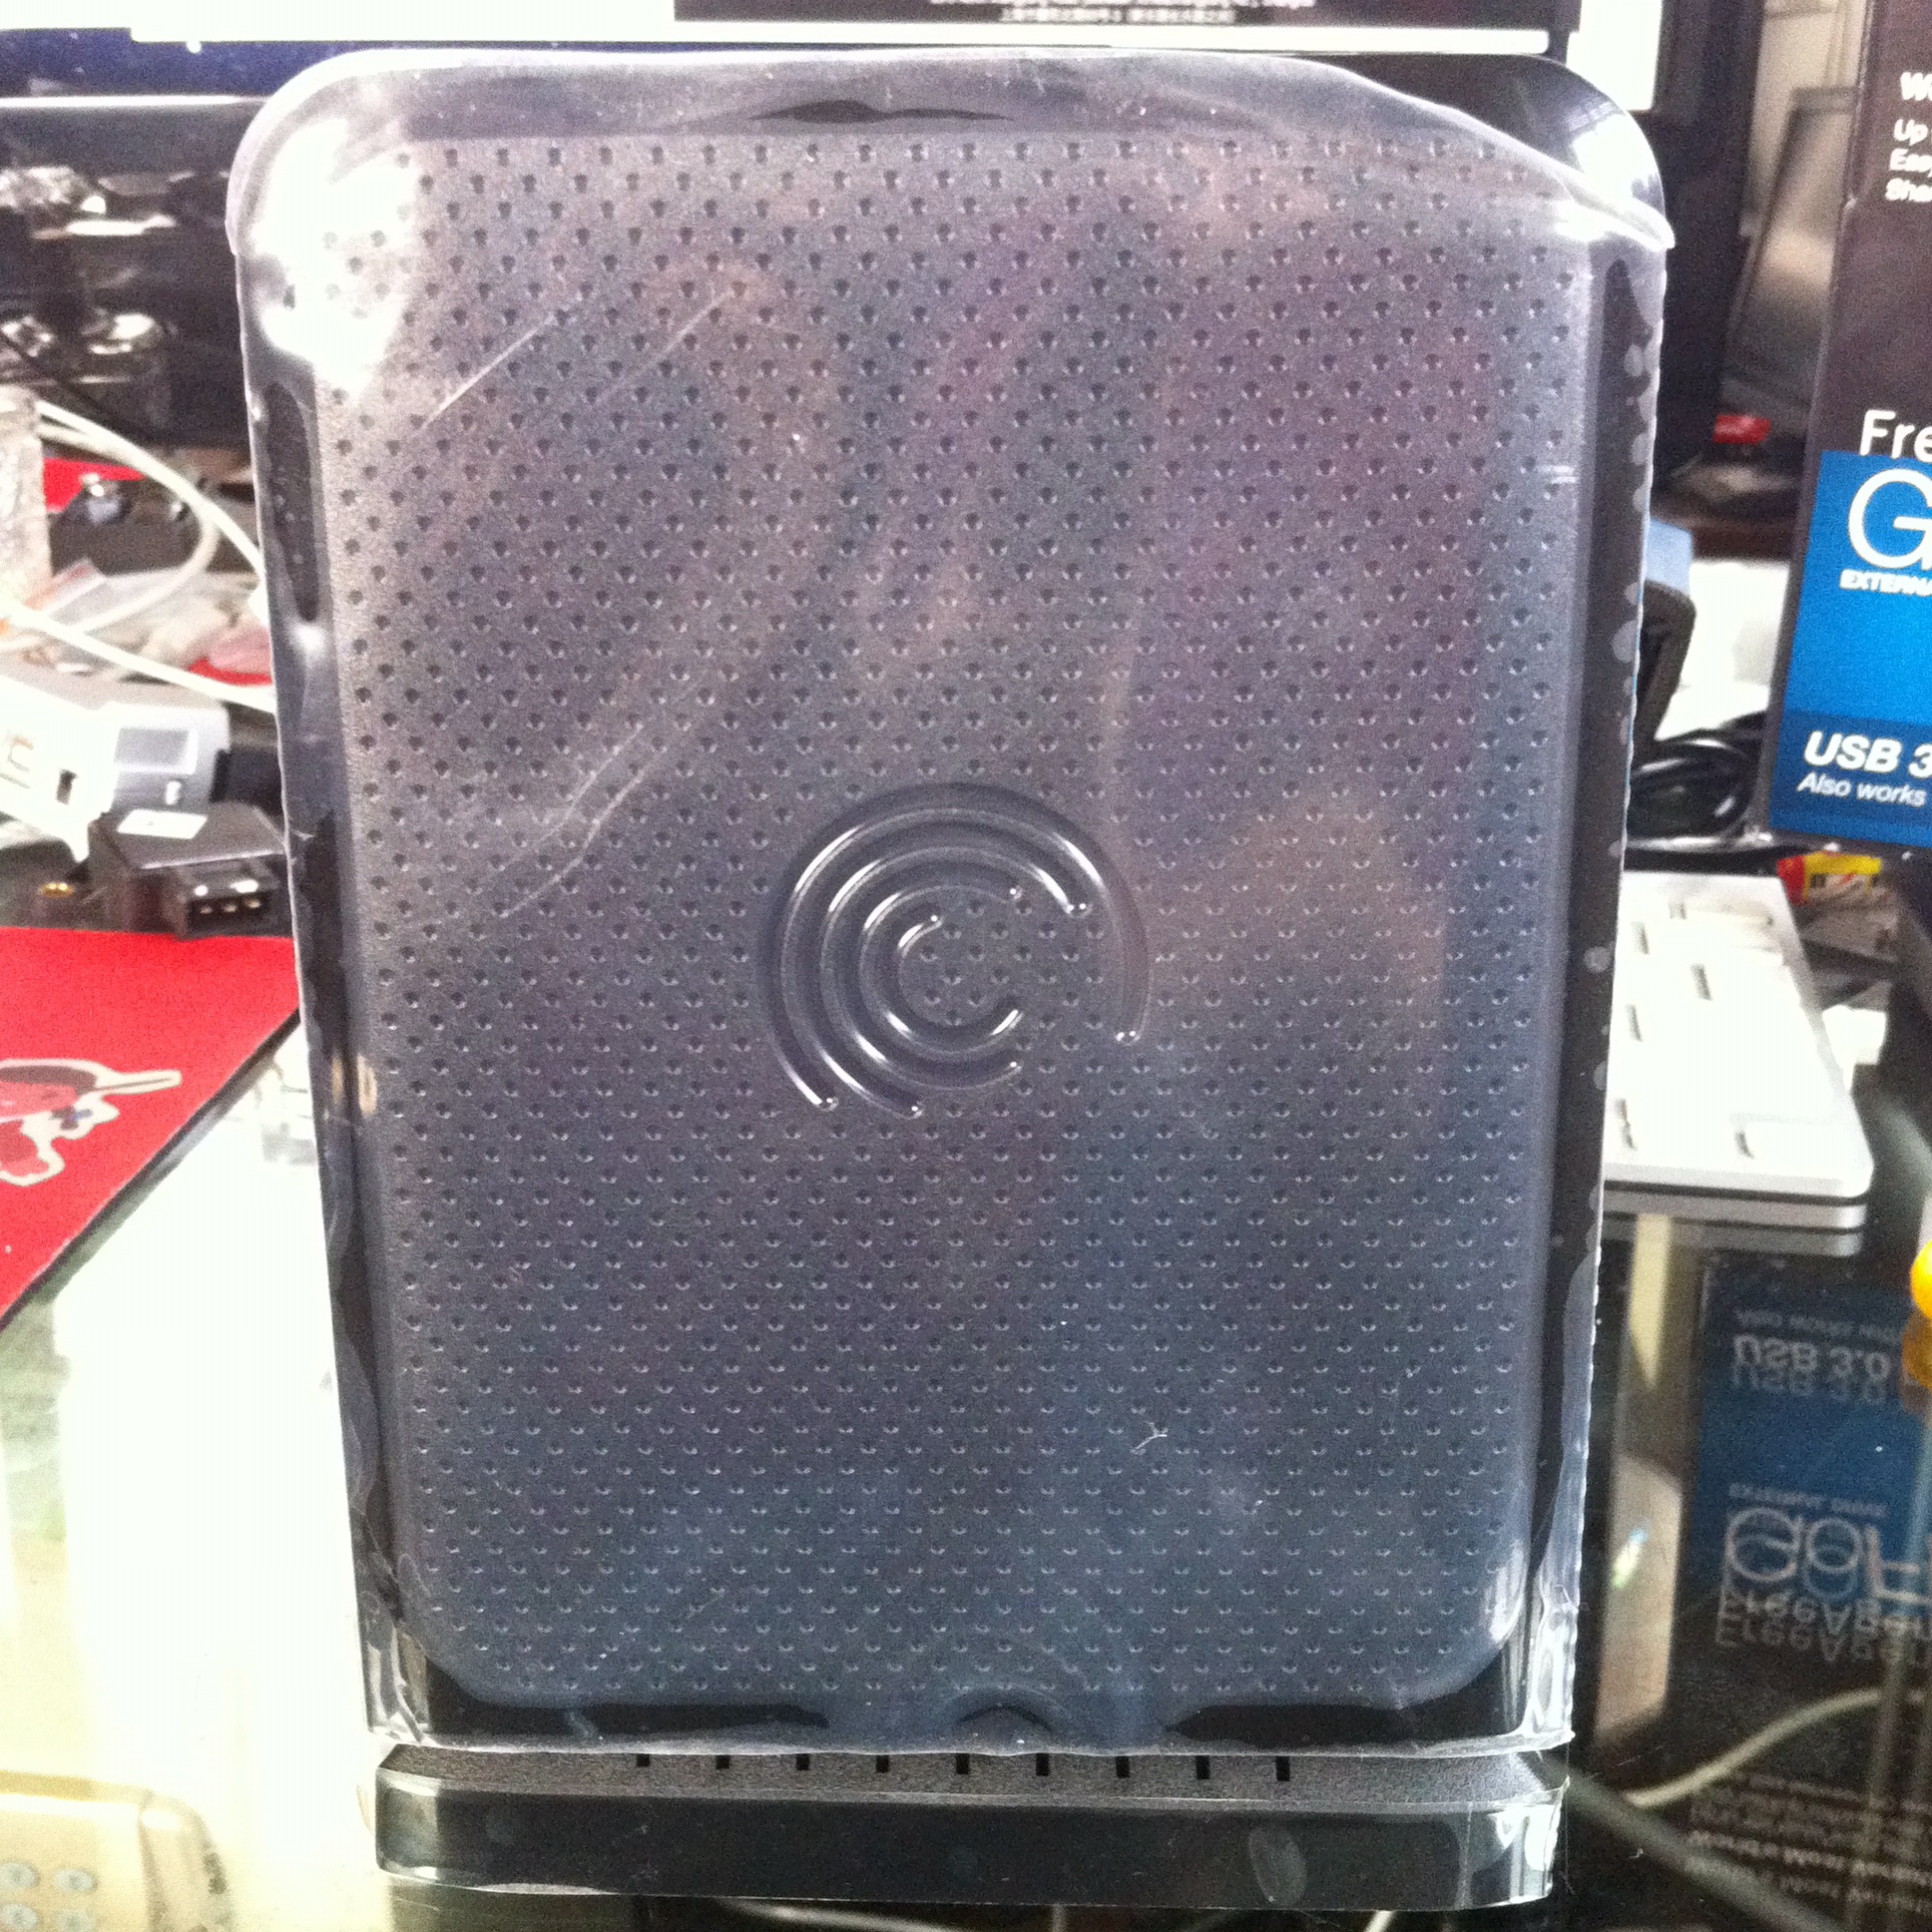
The drive case he brought over to me to have installed in his desktop was a Seagate GoFlex drive.
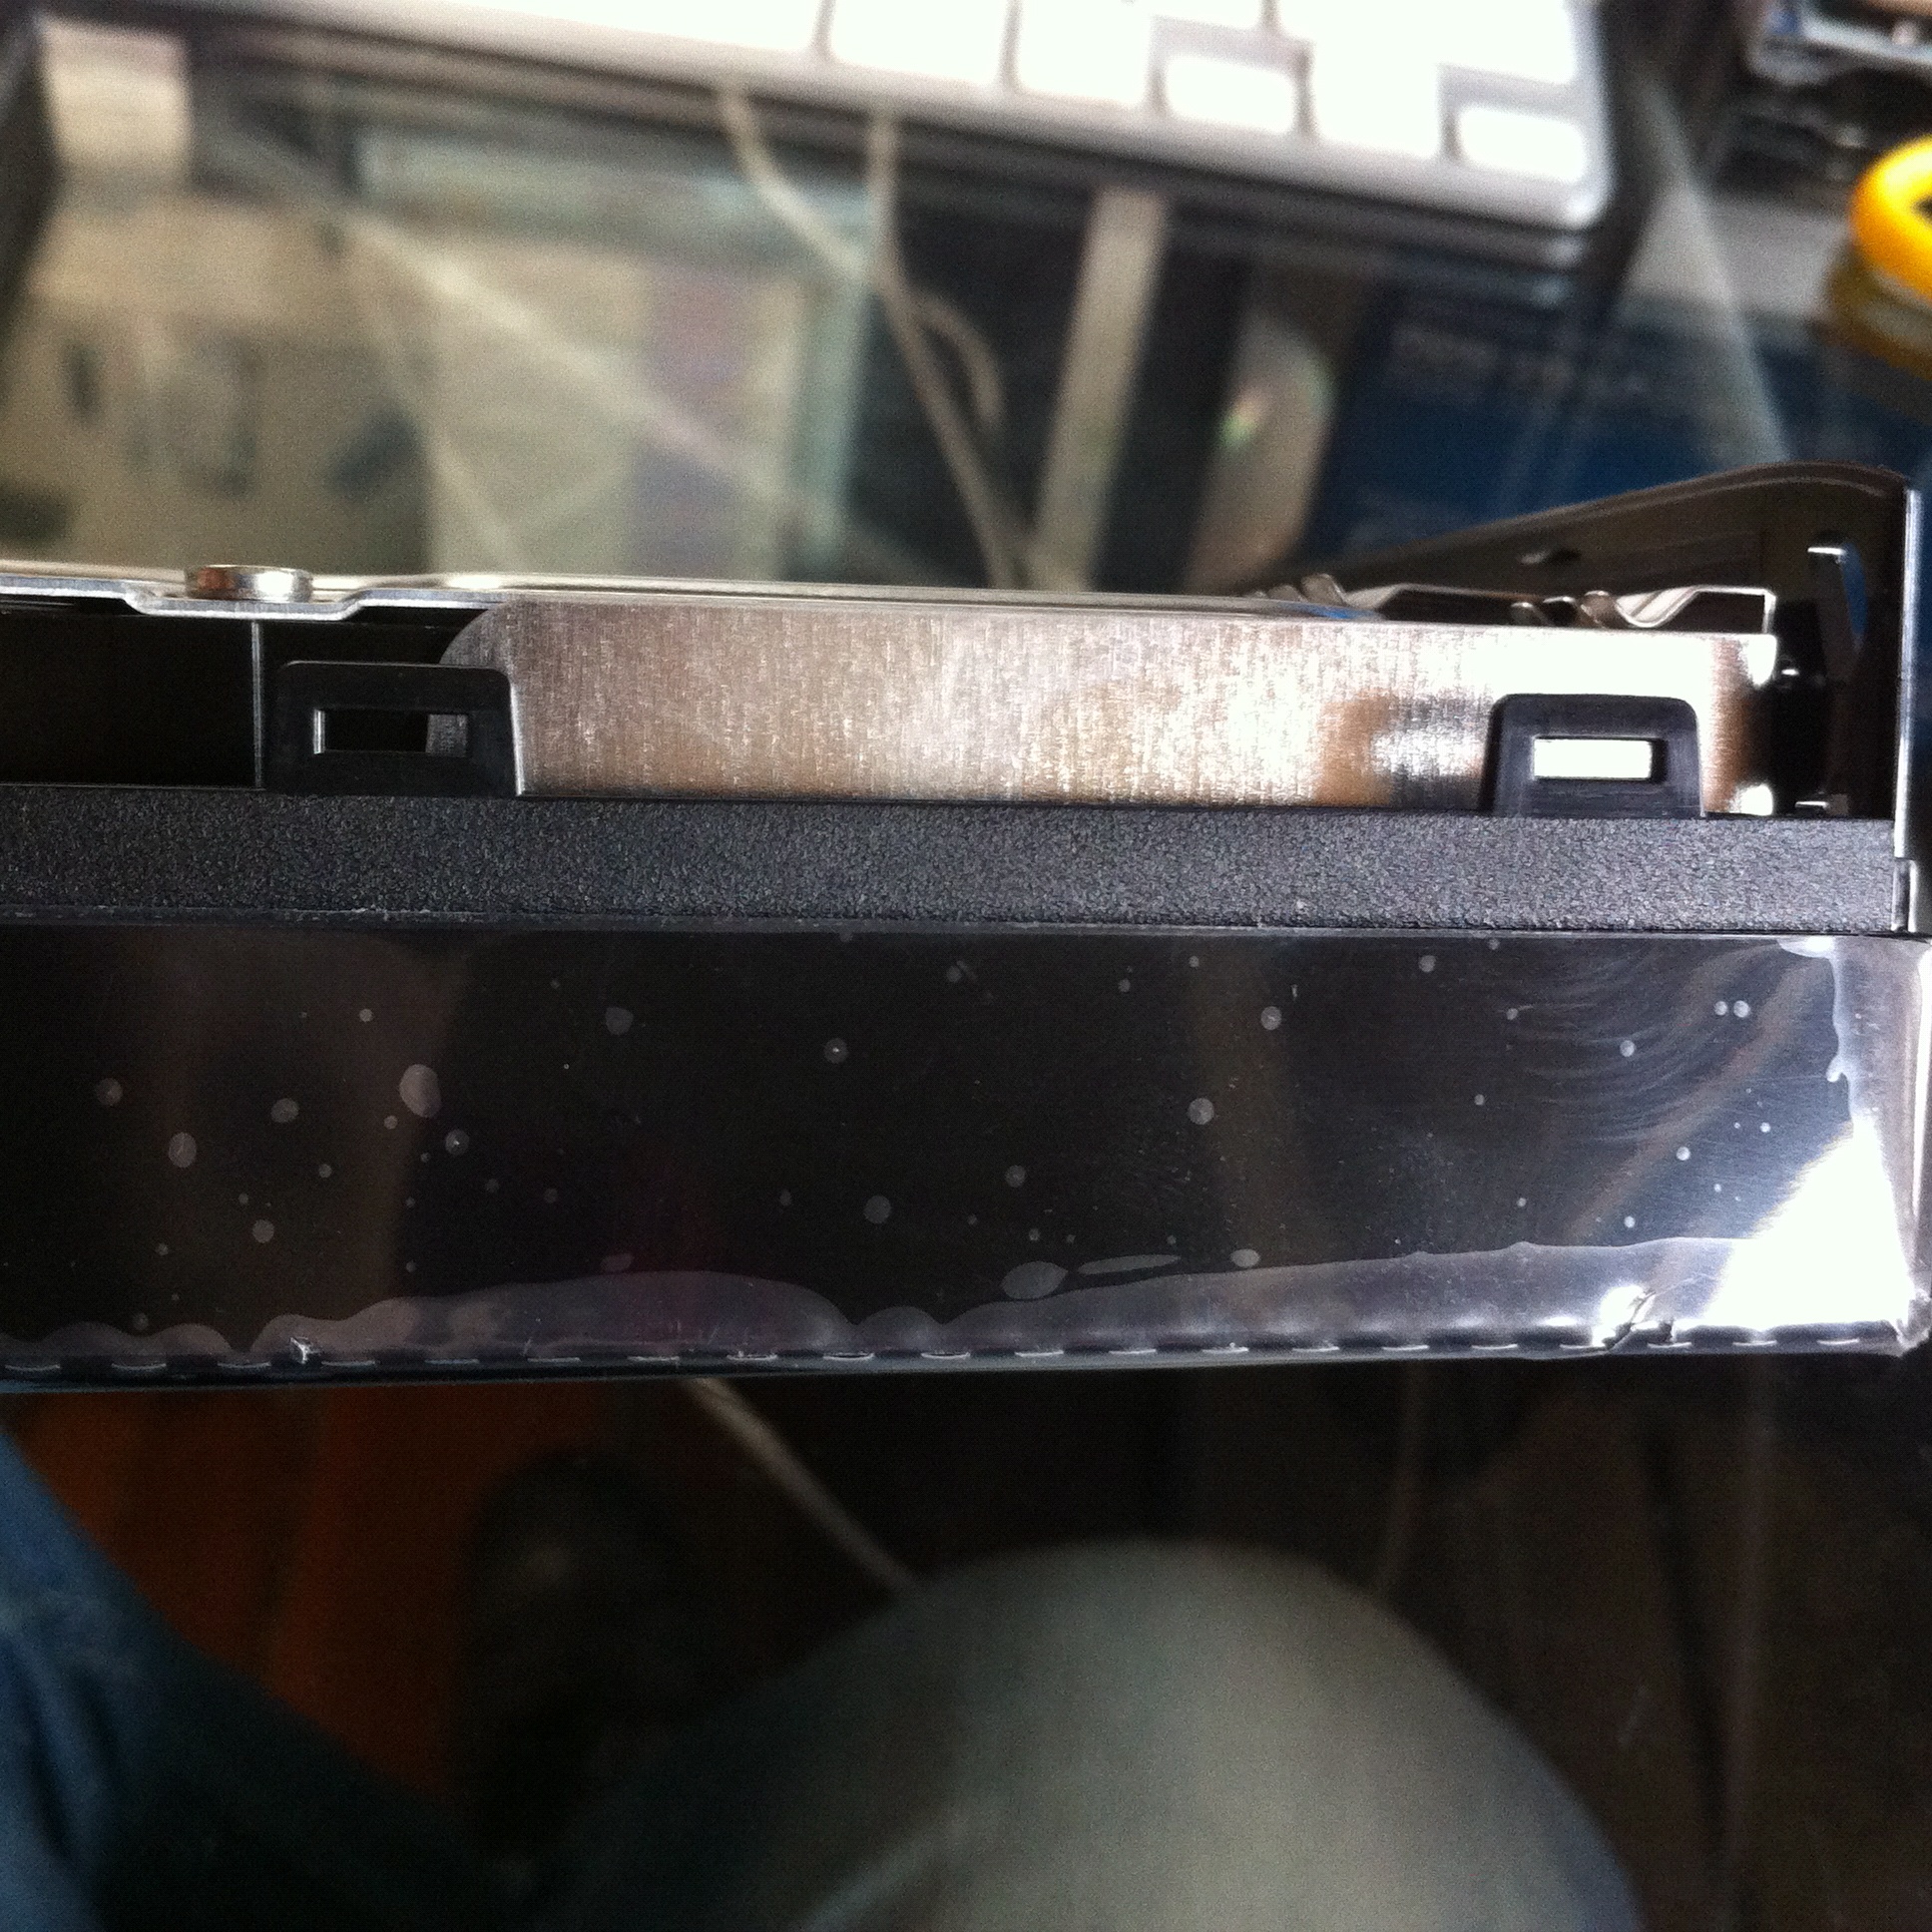
Seagate unfortunately doesn’t use screws to put the case together like other manufacturers, instead they use the dreaded plastic clips to hold the drive case together.
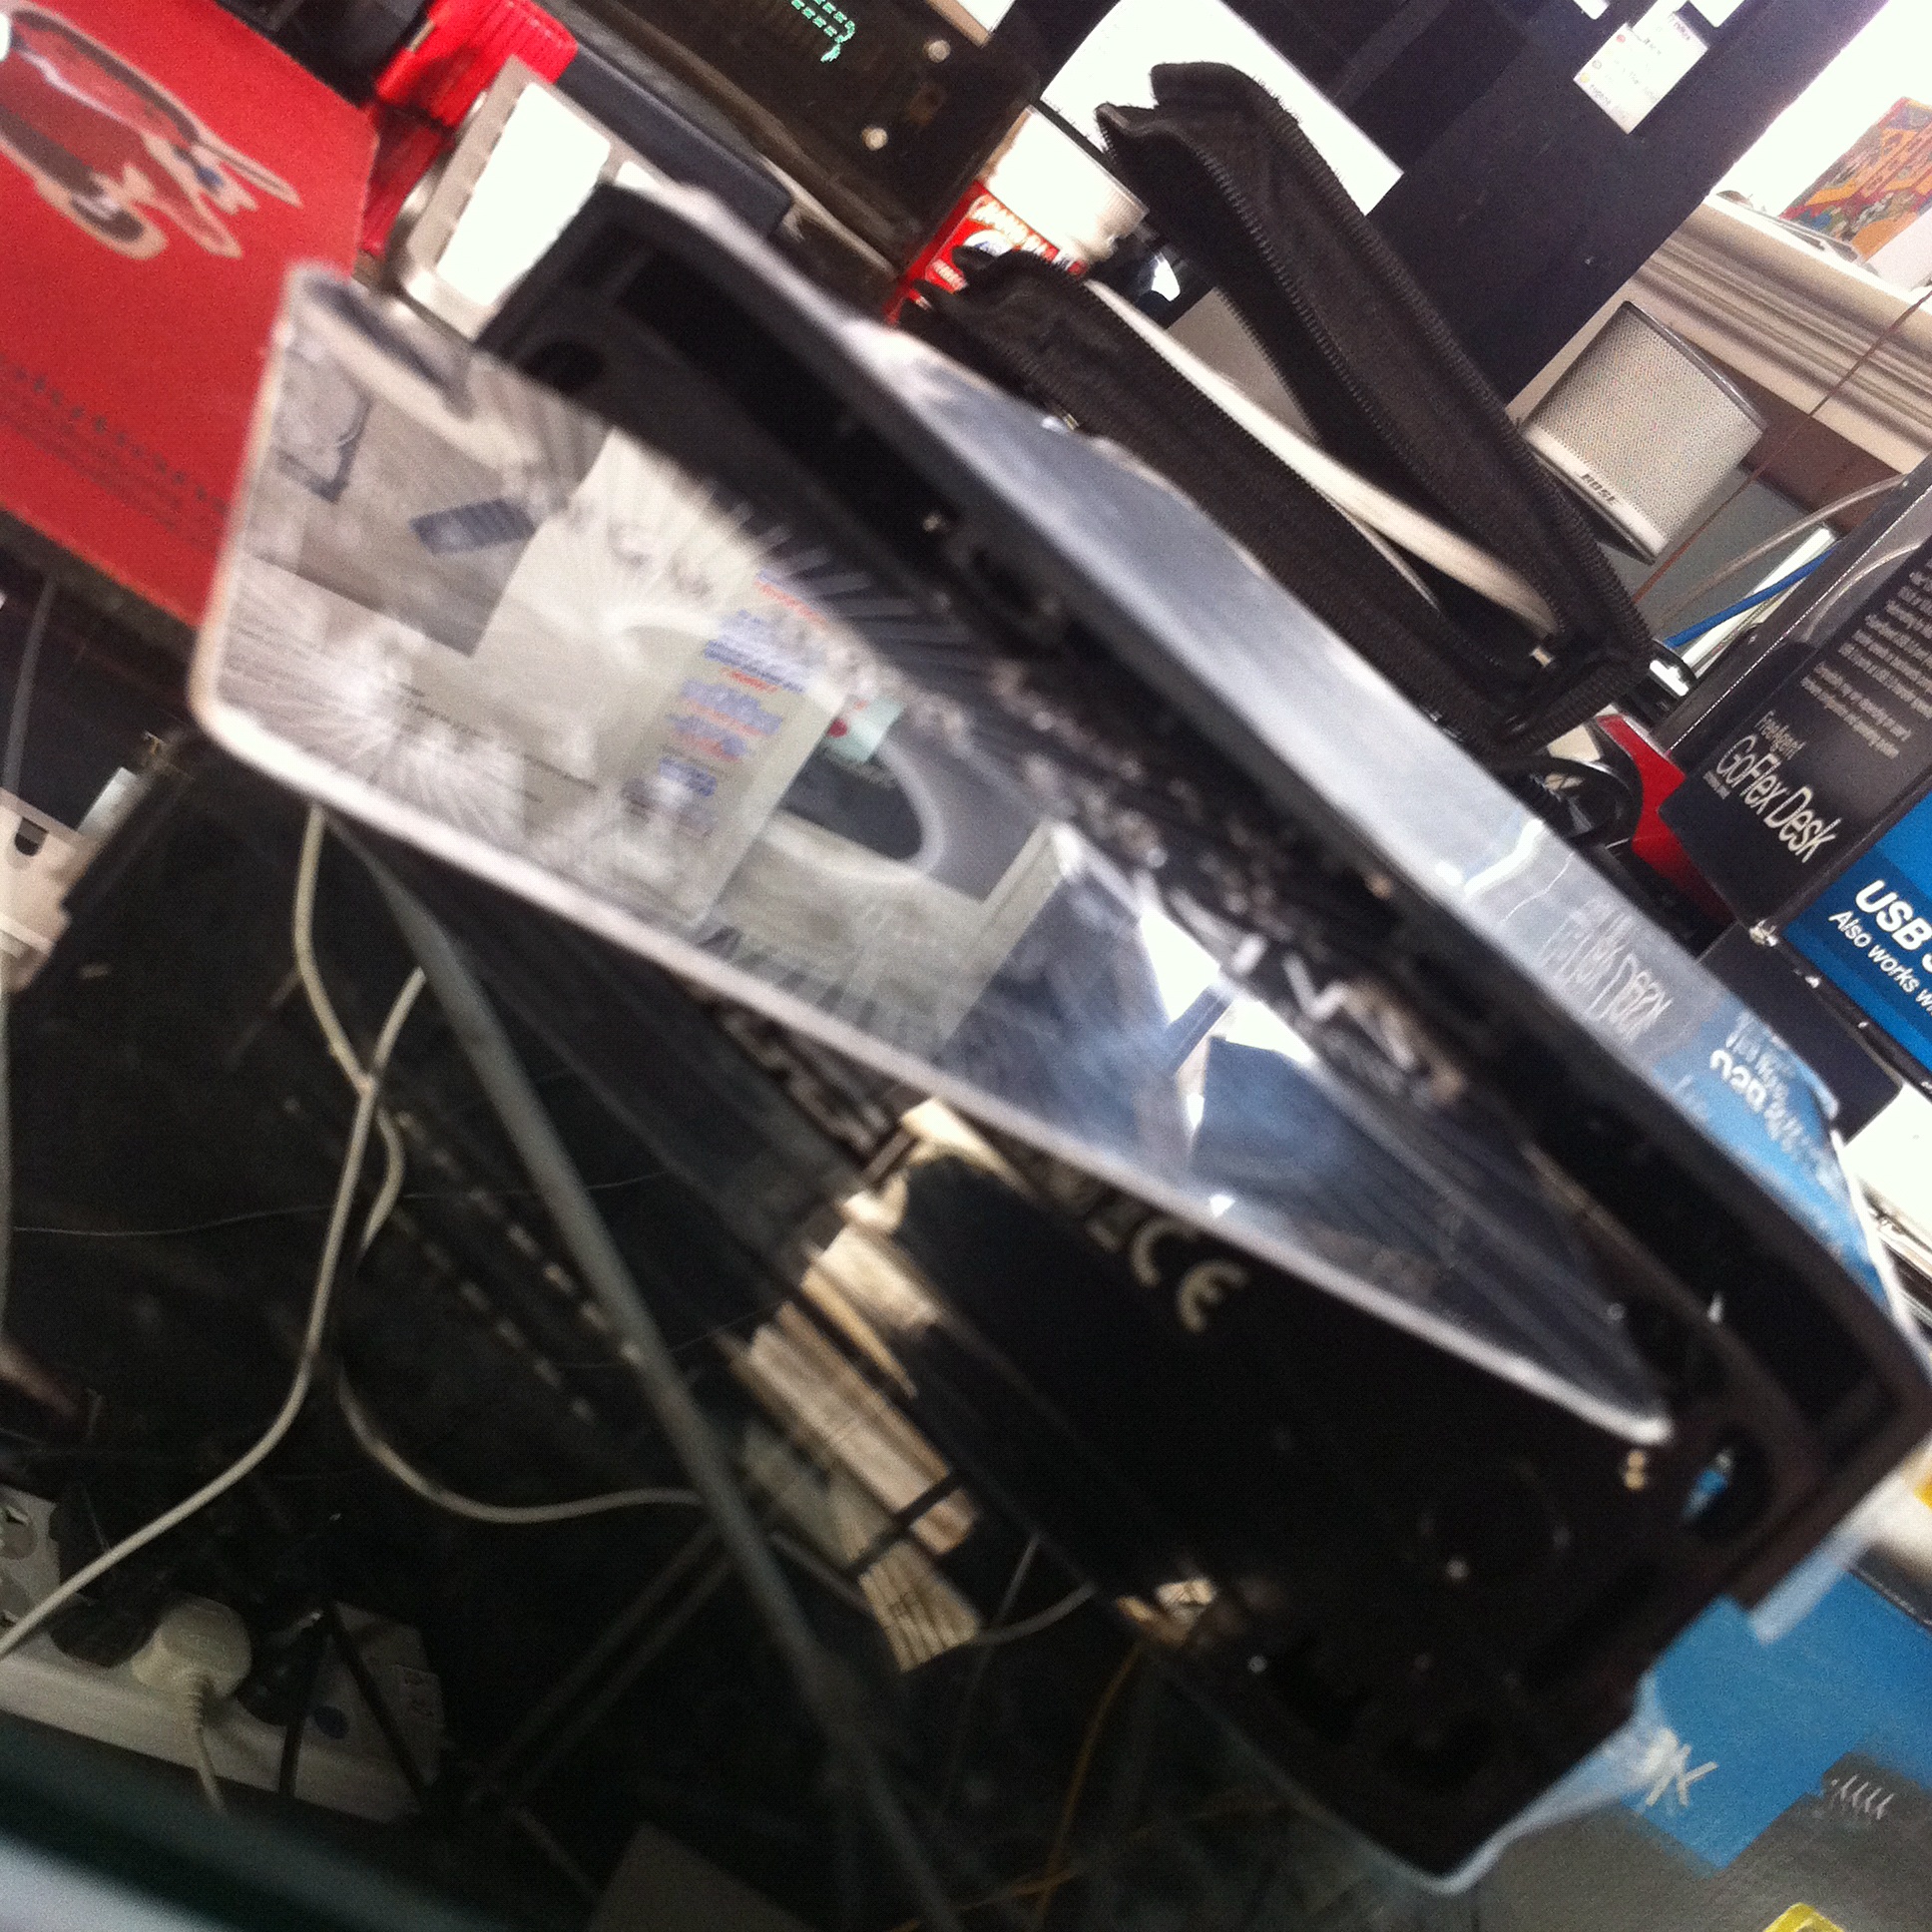
Below is a quick pictorial to safely take apart one of these cases to remove a drive (or swap a broken drive).
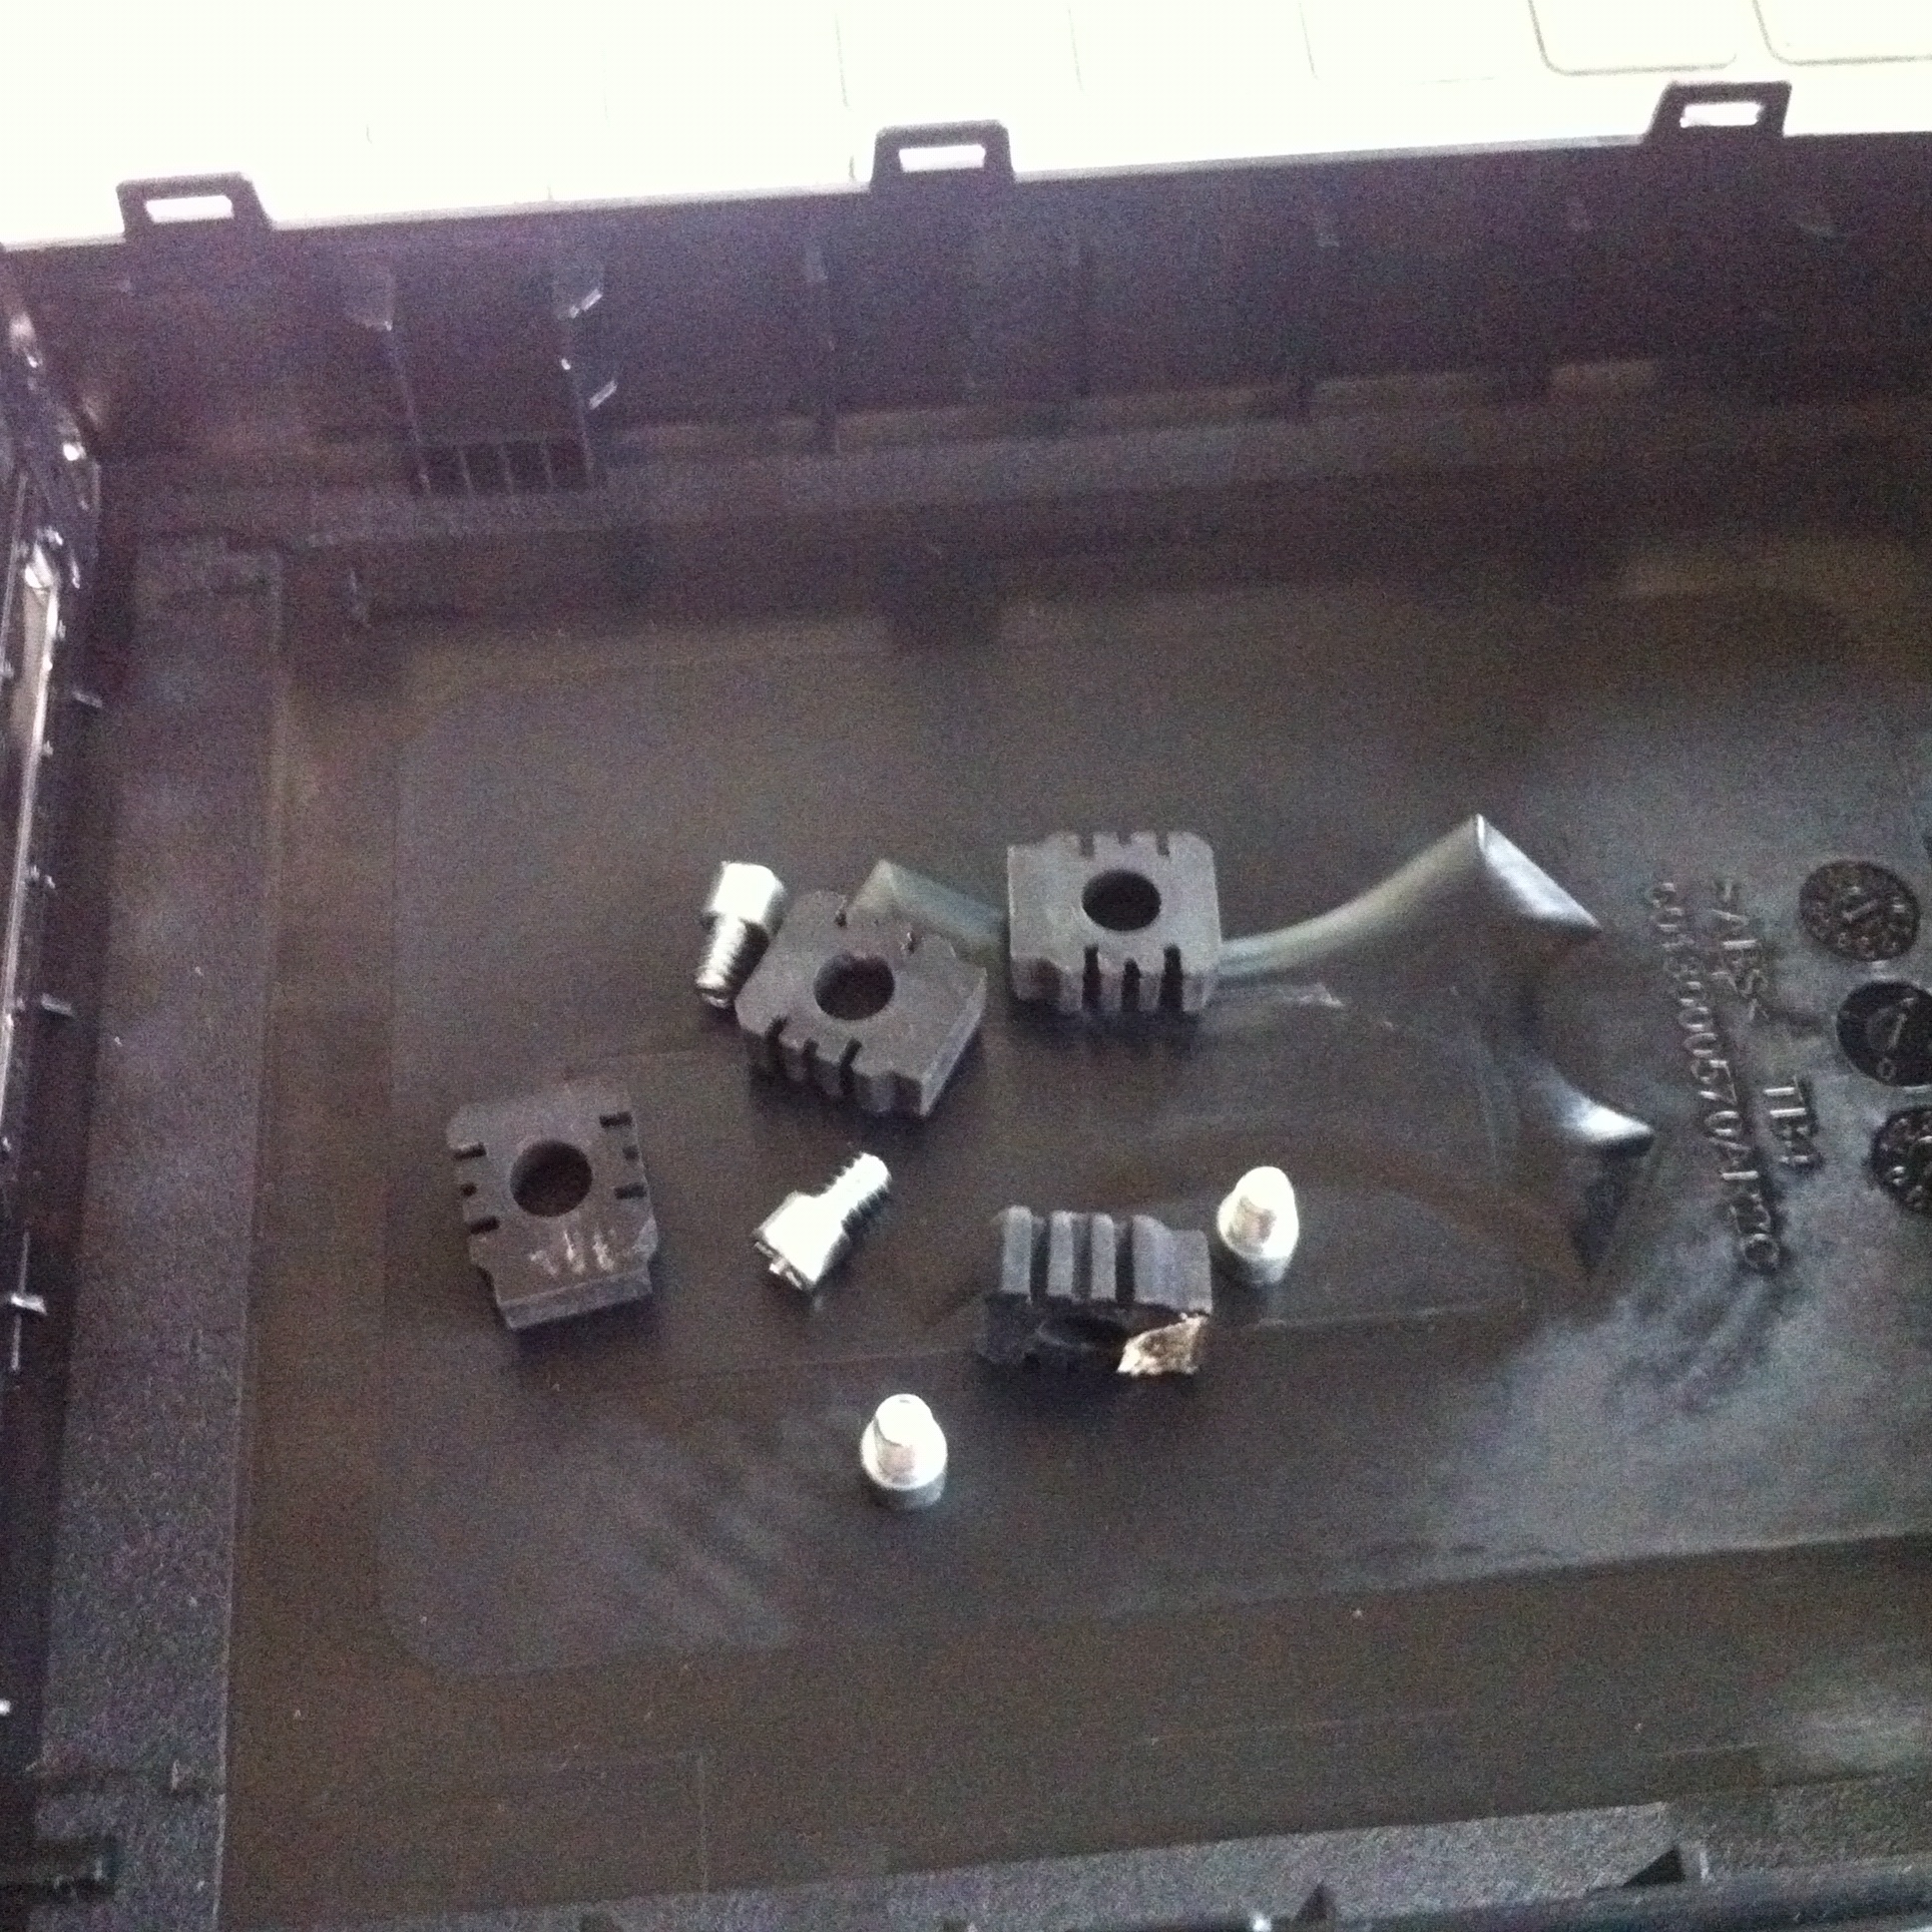
Essentially –
1. remove the base (pulls of easily).
2. stick a credit card under the top edge (I used a flat jewel screwdriver to get enough space), and unclip top
3. slide drive out
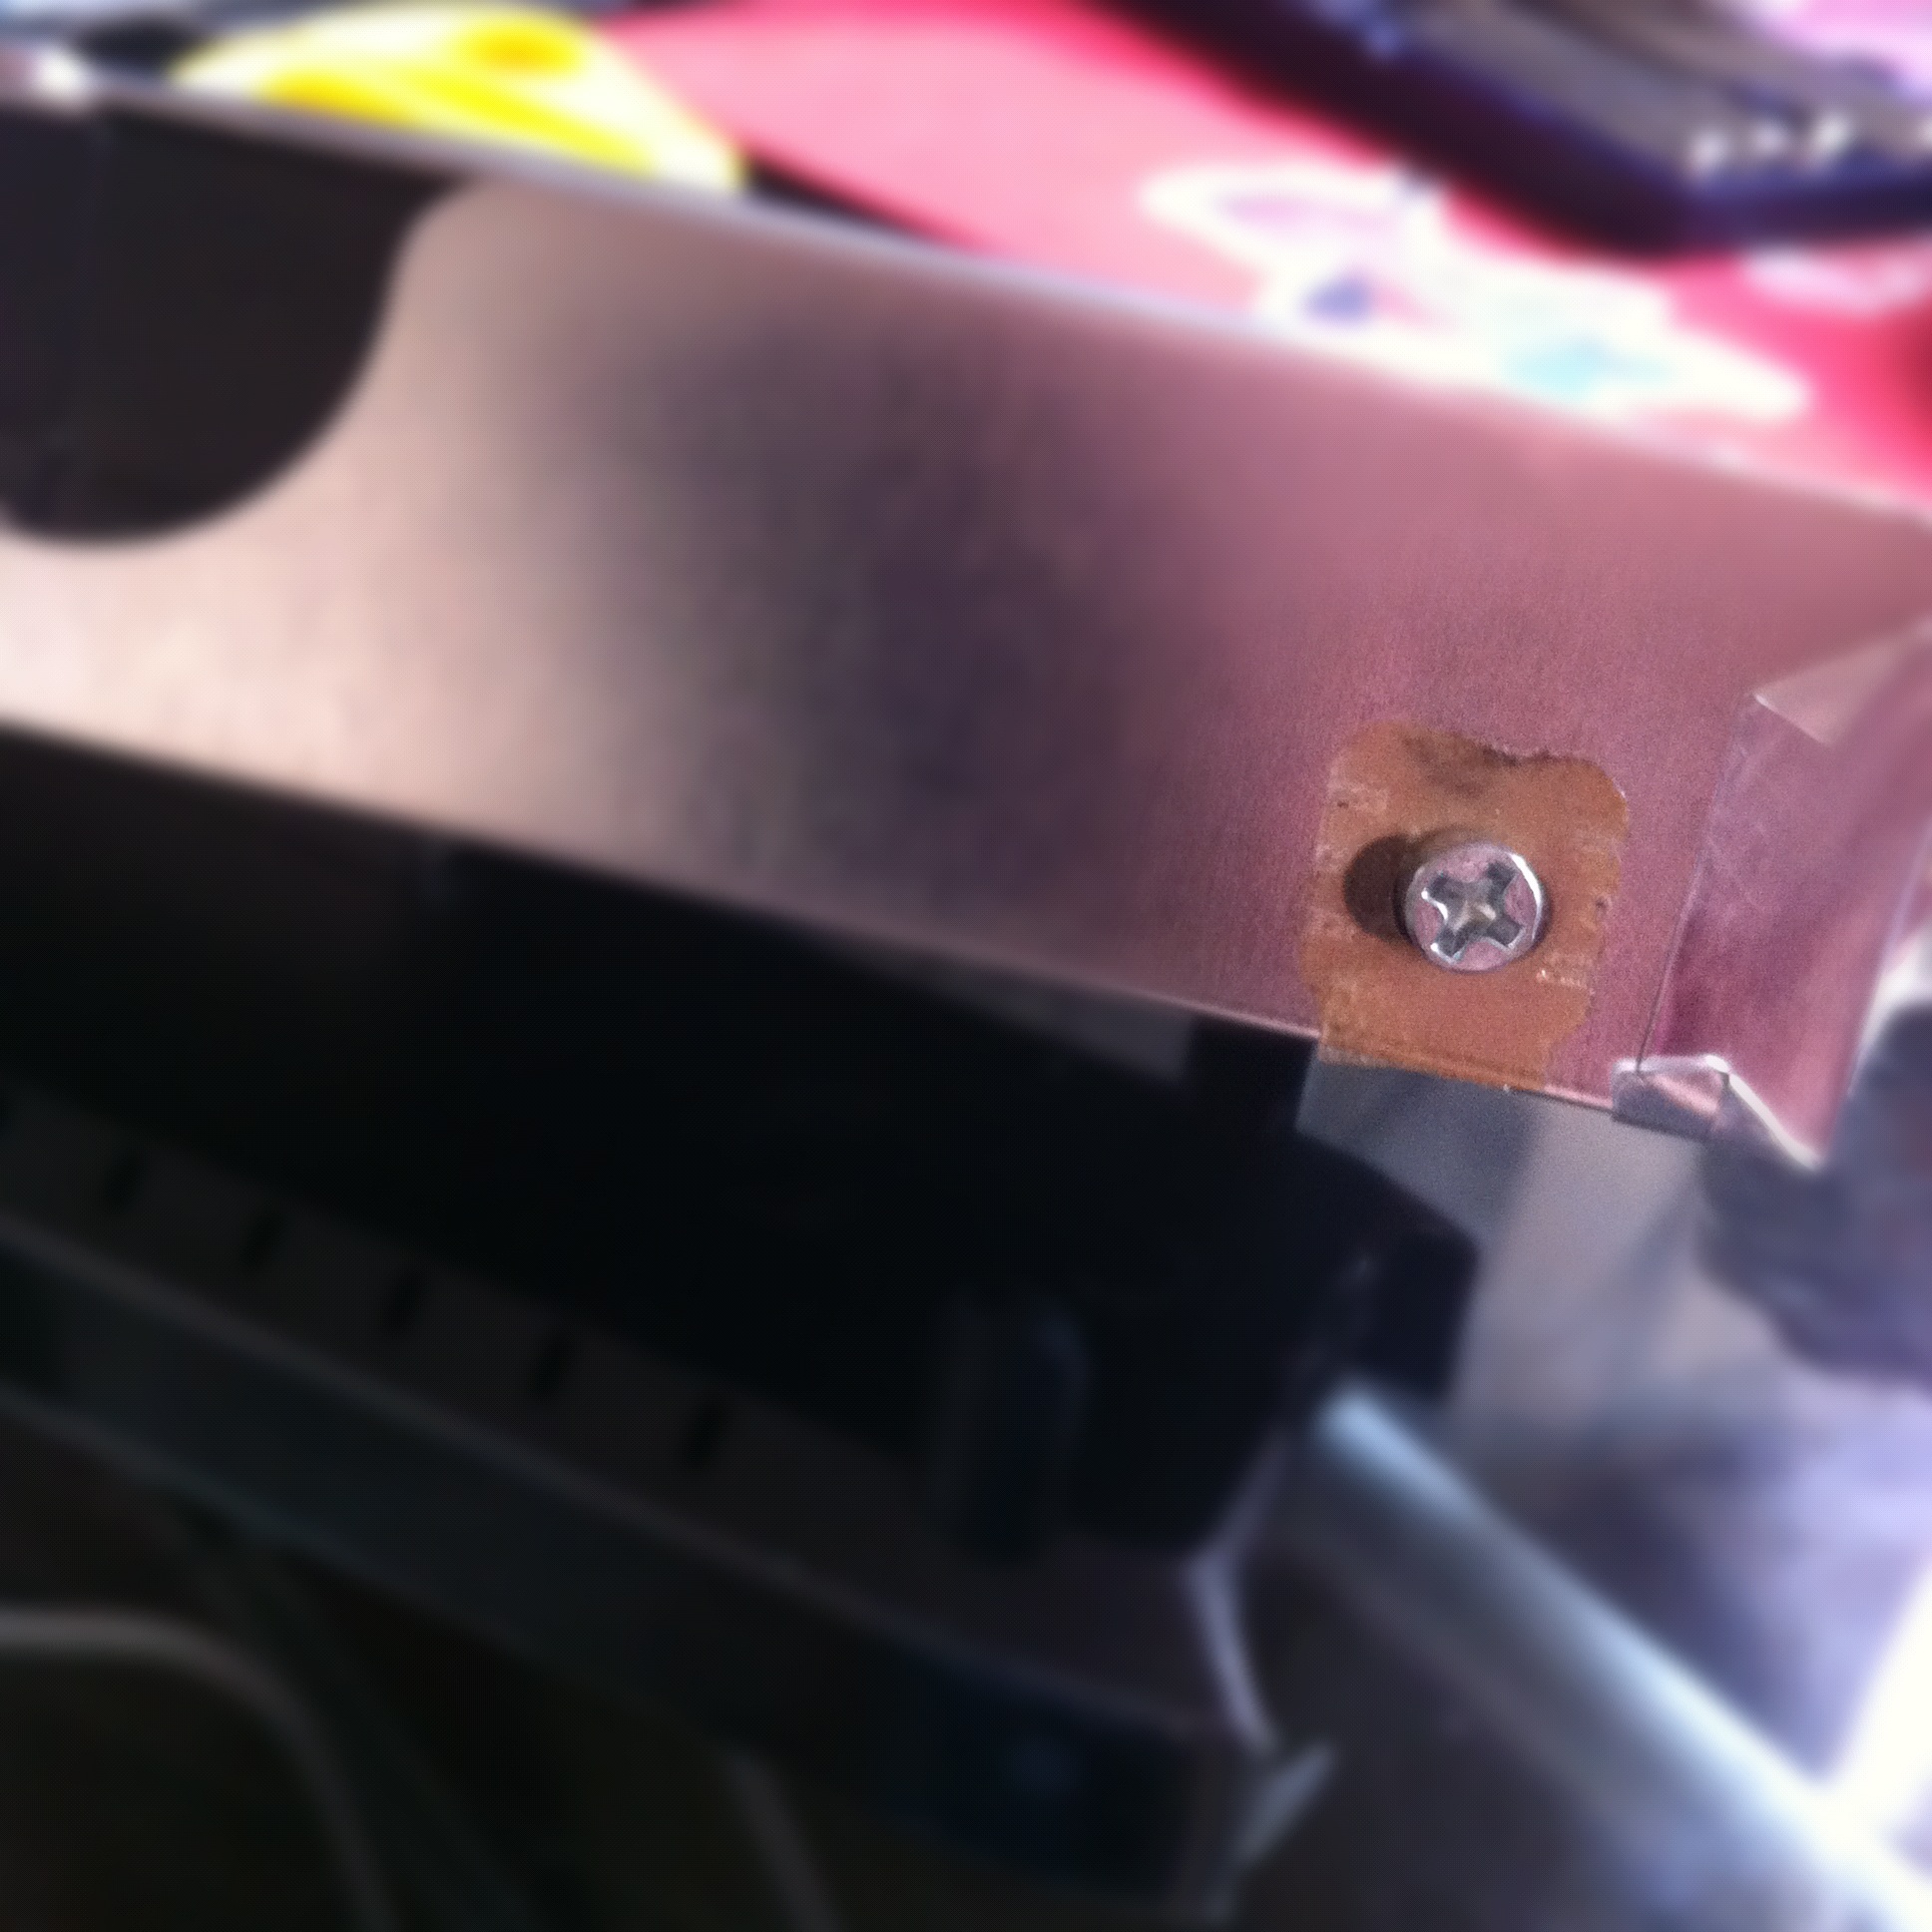
4. remove plastic feet and unscrew screws.
5. fold down metal sticker and remove drive.
If you get similar messages to this when you use apt-get
perl: warning: Setting locale failed.
perl: warning: Please check that your locale settings:
	LANGUAGE = (unset),
	LC_ALL = (unset),
	LC_CTYPE = "UTF-8",
	LANG = "en_US"
    are supported and installed on your system.
perl: warning: Falling back to the standard locale ("C").
locale: Cannot set LC_CTYPE to default locale: No such file or directory
locale: Cannot set LC_MESSAGES to default locale: No such file or directory
locale: Cannot set LC_ALL to default locale: No such file or directory
and the advice to
dpkg-reconfigure locales
doesn’t work, then try this –
export LANGUAGE=en_US.UTF-8
export LANG=en_US.UTF-8
export LC_ALL=en_US.UTF-8
locale-gen en_US.UTF-8
dpkg-reconfigure locales
Short and sweet solution.
8
Macbook Pro top replacement issue – or how I fixed my Macbook and sorted out the function keys.
I’ve been buying broken Macbook’s in SA when I’ve been home, for repair in China.
My latest purchase is a pre unibody Mac Book Pro that had been dropped – the top case was dented,and the screen shattered.
The LCD was fairly painless to replace – I’ve done quite a few already on various models, and I have a bazillion suppliers for raw panels.
The top case was a little more problematic – I ordered 2 consecutive replacements off of Taobao, but unfortunately the delivery company (ShenTong) destroyed both in shipping. Took about a month to sort that out and find a yet another replacement with explicit instructions please not to send via ShenTong (aka destroyer of parts).
The third case arrived in pristine condition, and I installed the keyboard from the previous case, only to find that the function keys didn’t work, and the caps lock didn’t work.
It wasn’t a hardware issue with the keyboard, as it worked fine in another laptop. I even ordered another one just to make sure.
A bit of googling revealed that the keyboard kext gets the layout from the USB hardware ID present in the top case.
As my top case didn’t quite match up hardware id wise, I was seeing that as an issue.
Fixing this is a bit tricky, but doable.
First up was to find out what the hardware id is for the USB case.
In my case this was as below (snarfed from System Information / USB)
Apple Internal Keyboard / Trackpad:

  Product ID:	0x0231
  Vendor ID:	0x05ac  (Apple Inc.)
  Version:	0,70
  Speed:	Up to 12 Mb/sec
  Manufacturer:	Apple, Inc.
  Location ID:	0x5d200000 / 3
  Current Available (mA):	500
  Current Required (mA):	40
Product ID is the useful bit – 0x0231 = 561 in decimal.
So, we need to lookup 561 in the kext (driver) for the keyboard.
In Lion / Snow Leopard, this is in the AppleUSBTopCase.kext over in System / Library / Extensions.
If you open up that kext, it has the plist for the keyboard layouts over here –
AppleUSBTopCase.kext » Contents » PlugIns » AppleUSBTCKeyEventDriver.kext » Contents » Info.plist
Open up the Info.plist, and look for the Product ID that matches your Product ID – in my case 560.
The key FnFunctionUsageMap contains the mapping for the keyboard. In my case I had to change it to this:
FnFunctionUsageMap
0x0007003a,0x00ff0005,0x0007003b,0x00ff0004,0x0007003c,0x000c00e2,0x0007003d,0x000c00ea,0x0007003e,0x000c00e9,0x0007003f,0x00070083,0x00070040,0x00ff0006,0x00070041,0x00ff0007,0x00070042,0x00ff0009,0x00070043,0x00ff0008
Each value is a pair – first the key number, then the value to set it to.
0x0007003a = F1
0x0007003b = F2
…
My above settings are for
F1 = brightness down
F2 = brightness up
F3 = mute
F4 = volume down
F5 = volume up
F6 = num lock
F7 = Expose
F8 = Keyboard Light off
F9 = Keyboard Light down
F10 = Keyboard Light Up
F11 = n/a
F12 = n/a
I got these values from here –
// usage IDs from the hid
#define FF_BRIGHTNESS_DOWN_ID_LAPTOP @”0x00ff0005″ // for laptops
#define FF_BRIGHTNESS_UP_ID_LAPTOP @”0x00ff0004″ // for laptops
#define FF_BRIGHTNESS_DOWN_ID_EXTERNAL @”0xff010021″ // for external keyboards
#define FF_BRIGHTNESS_UP_ID_EXTERNAL @”0xff010020″ // for external keyboards
#define FF_EXPOSE_ID @”0xff010010″
#define FF_DASHBOARD_ID @”0xff010002″
#define FF_ILLUMINATION_TOGGLE_ID @”0x00ff0007″
#define FF_ILLUMINATION_DOWN_ID @”0x00ff0009″
#define FF_ILLUMINATION_UP_ID @”0x00ff0008″
#define FF_VIDEO_MIRROR_ID @”0x00ff0006″
#define FF_REWIND_ID @”0x000C00B4″
#define FF_PLAYPAUSE_ID @”0x000C00CD”
#define FF_FASTFORWARD_ID @”0x000C00B3″
#define FF_MUTE_ID @”0x000C00E2″
#define FF_VOLUME_DOWN_ID @”0x000C00EA”
#define FF_VOLUME_UP_ID @”0x000C00E9″
Once I’d done that, I also needed to rebuild (or in my case build), the Kext cache so that the OS would use it on next reboot.
Heres how to do that in Lion
sudo kextcache -v 1 -a i386 -a x86_64 -m /System/Library/Caches/com.apple.kext.caches/Startup/Extensions.mkext /System/Library/Extensions
…oh, and lastly, reboot of course!
Post reboot my function keys were working normally.
The caps lock key is still non-functional, but I’m ok with that, as its means a bit more work for little effort.
I may look into setting up a special plist to override the usb_id its getting from the hardware via the method here –http://www.projectosx.com/forum/index.php?showtopic=798
..but again, time vs effort…
Still, my Macbook is working now more or less, so its good enough for me 🙂
Of course, subsequently to doing this the hard way, I found a program to do it all for me!
http://pqrs.org/macosx/keyremap4macbook/
Suggest unless you are a masochist, use that!
We use xcache as a php caching mechanism on our servers.
Its pretty painless for us for the most part.
One of our clients did complain that their app was now crapping out.
A check of the software forums for that app (ActiveCollab) showed that it was an issue with PHP5.3.2 and XCache and ActiveCollab.
So, needed to disable Xcache.
This should be relatively easy I thought, but the documentation sucks, so took a while to find out how.
Its pretty simple to do though.
Assuming you’ve allowed htaccess files in apache, you can do the below –
Add an htaccess file in the root folder of the website with the following info
php_flag xcache.cacher Off
php_flag xcache.size 0
php_flag xcache.stat Off
Thats it.
Archives
- November 2024
- November 2019
- October 2019
- August 2019
- April 2019
- February 2017
- September 2016
- June 2016
- May 2016
- September 2015
- August 2015
- June 2015
- April 2015
- December 2014
- October 2014
- September 2014
- July 2014
- June 2014
- April 2014
- October 2013
- July 2013
- May 2013
- April 2013
- March 2013
- January 2013
- December 2012
- October 2012
- August 2012
- July 2012
- June 2012
- May 2012
- April 2012
- March 2012
- December 2011
- November 2011
- October 2011
- September 2011
- July 2011
- May 2011
- April 2011
- March 2011
- February 2011
- January 2011
- December 2010
- November 2010
- October 2010
- September 2010
- August 2010
- July 2010
- June 2010
- May 2010
- April 2010
- March 2010
- February 2010
- January 2010
- December 2009
- November 2009
- October 2009
- May 2009
- April 2009
- March 2009
- February 2009
- January 2009
- December 2008
- November 2008
- October 2008
- September 2008
Categories
- Apple
- Arcade Machines
- Badges
- BMW
- China Related
- Cool Hunting
- Exploits
- Firmware
- Food
- General Talk
- government
- IP Cam
- iPhone
- Lasers
- legislation
- MODx
- MySQL
- notice
- qmail
- requirements
- Reviews
- Service Issues
- Tao Bao
- Technical Mumbo Jumbo
- Things that will get me censored
- Travel
- Uncategorized
- Useful Info